Appearance

Hair Cards
After installation, we can find 3D Hair Brush from N panel in 3D viewport. Select an object with particle systems, and a new option tab—Hair Cards—will be displayed.
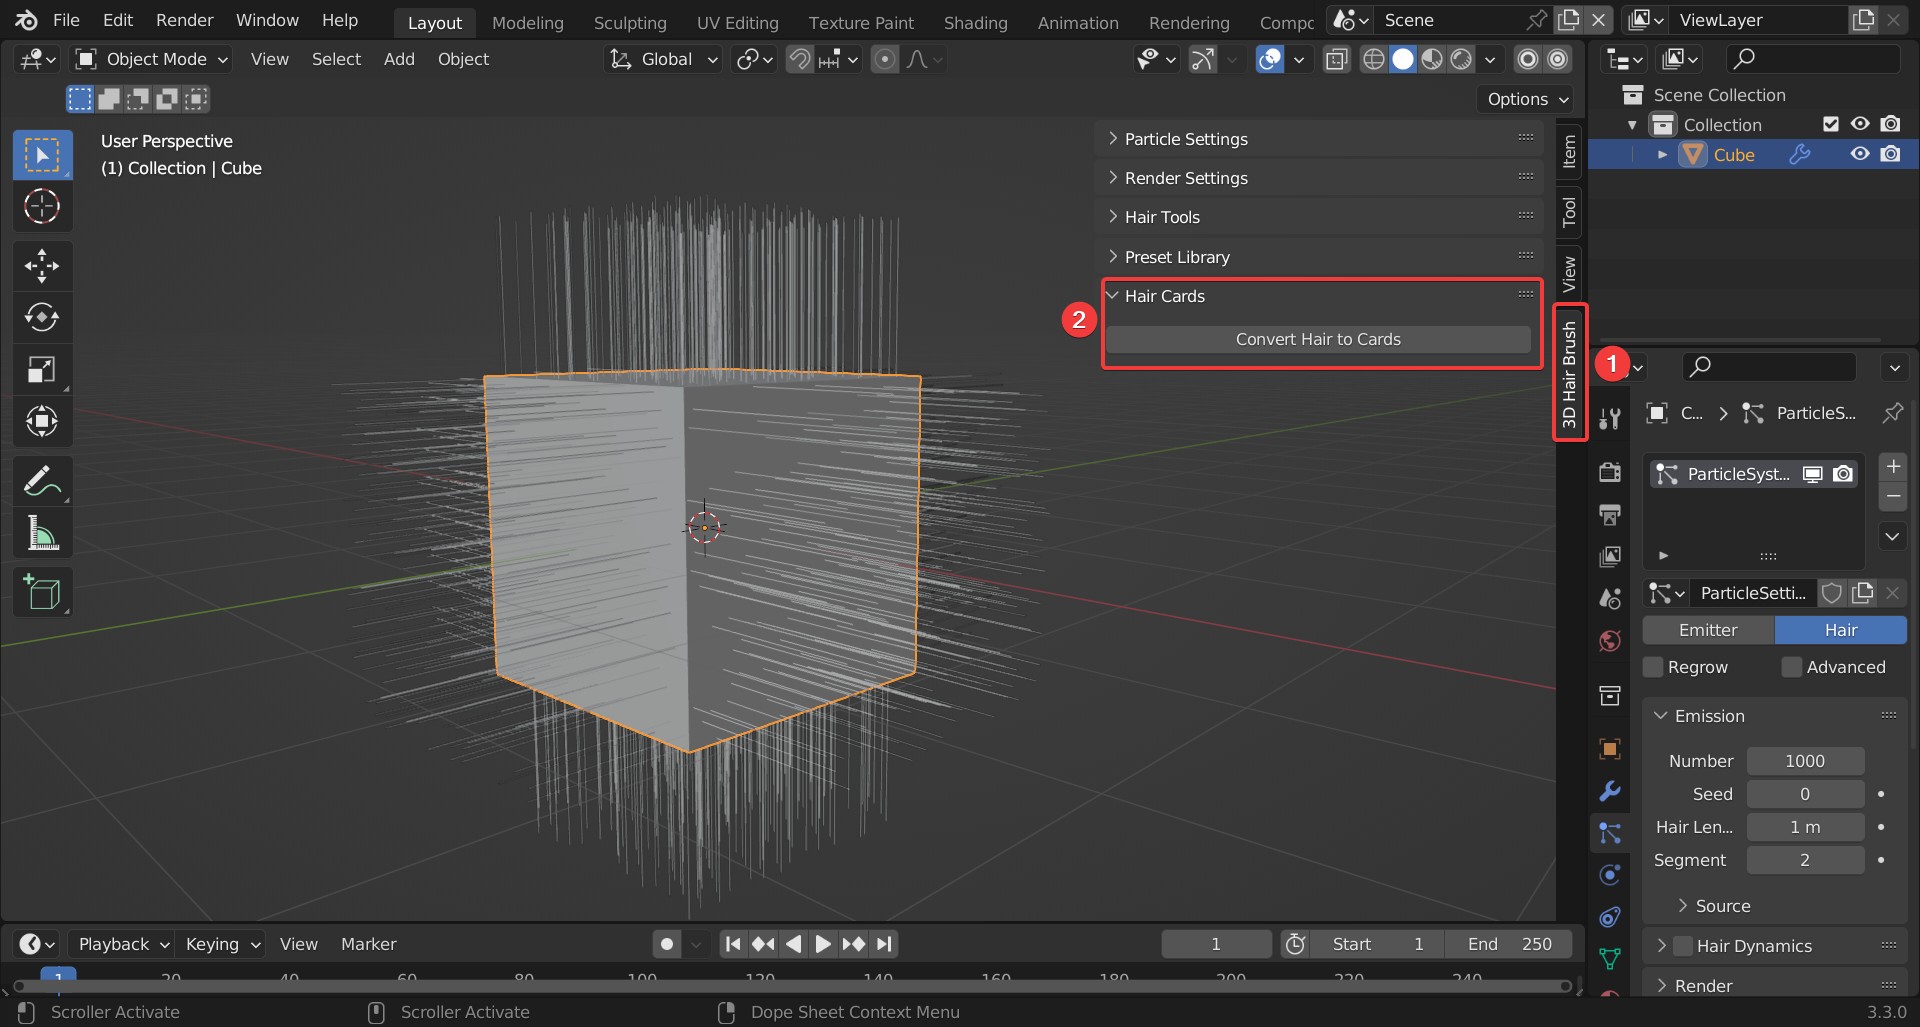
Click on "Convert Hair to Cards" to open a panel.
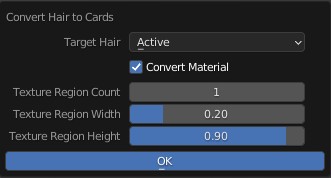
- Target Hair: The particle system to be converted.
- Active: The selected particle systems on the selected object.
- All: All particle systems on the selected object.
TIP
If the hairstyle is simple, such as straight hair, we can convert all layers at once. If the hairstyle is complex, we can convert the layers one by one.
- Convert Material: Check this option to convert materials of the particles to textures of hair cards. Uncheck this option to get card meshes without texture or material.
TIP
Without material of the particles, the converted cards have no texture.
Depending on our workflow, if we are converting particles to cards, we can enable this option. If we already have the textures, we can disable this option and convert the card meshes only.
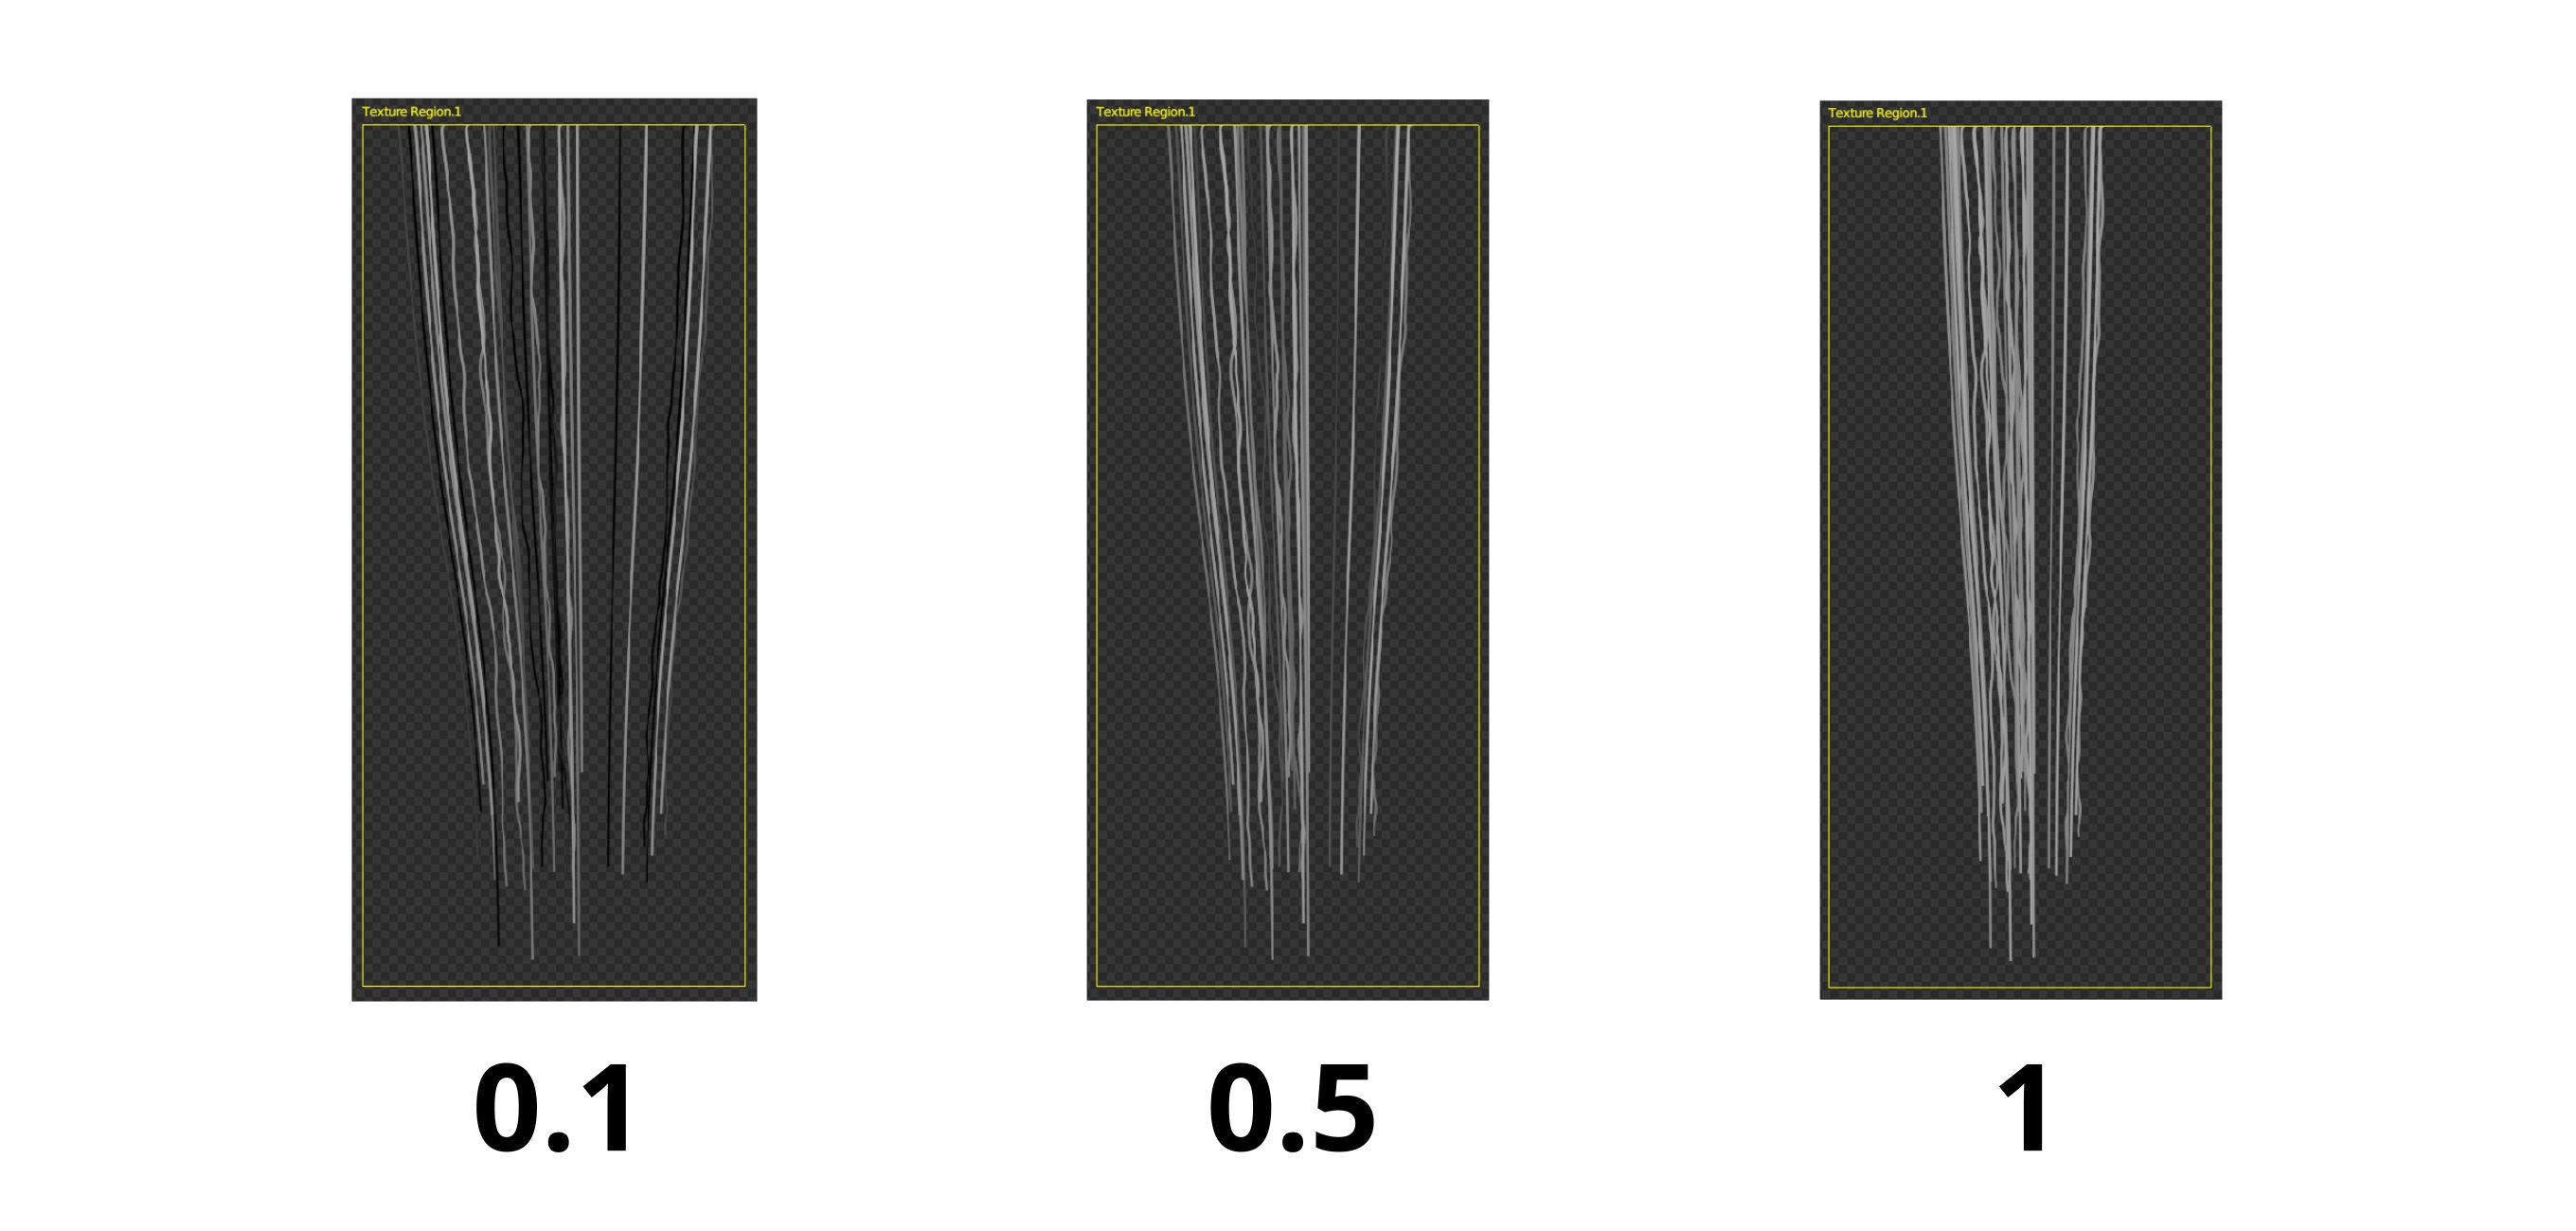
- Texture Region Count: Increases or decreases the number of textures, and a larger value can give more randomness of hair. The number of textures is equal to the number of materials of the converted cards.
TIP
The number of textures depends on the complexity of the hairstyle. If the hairstyle is simple, such as straight hair, 1 is fine. But for complex and random hairstyles, more textures are necessary to get a good result.
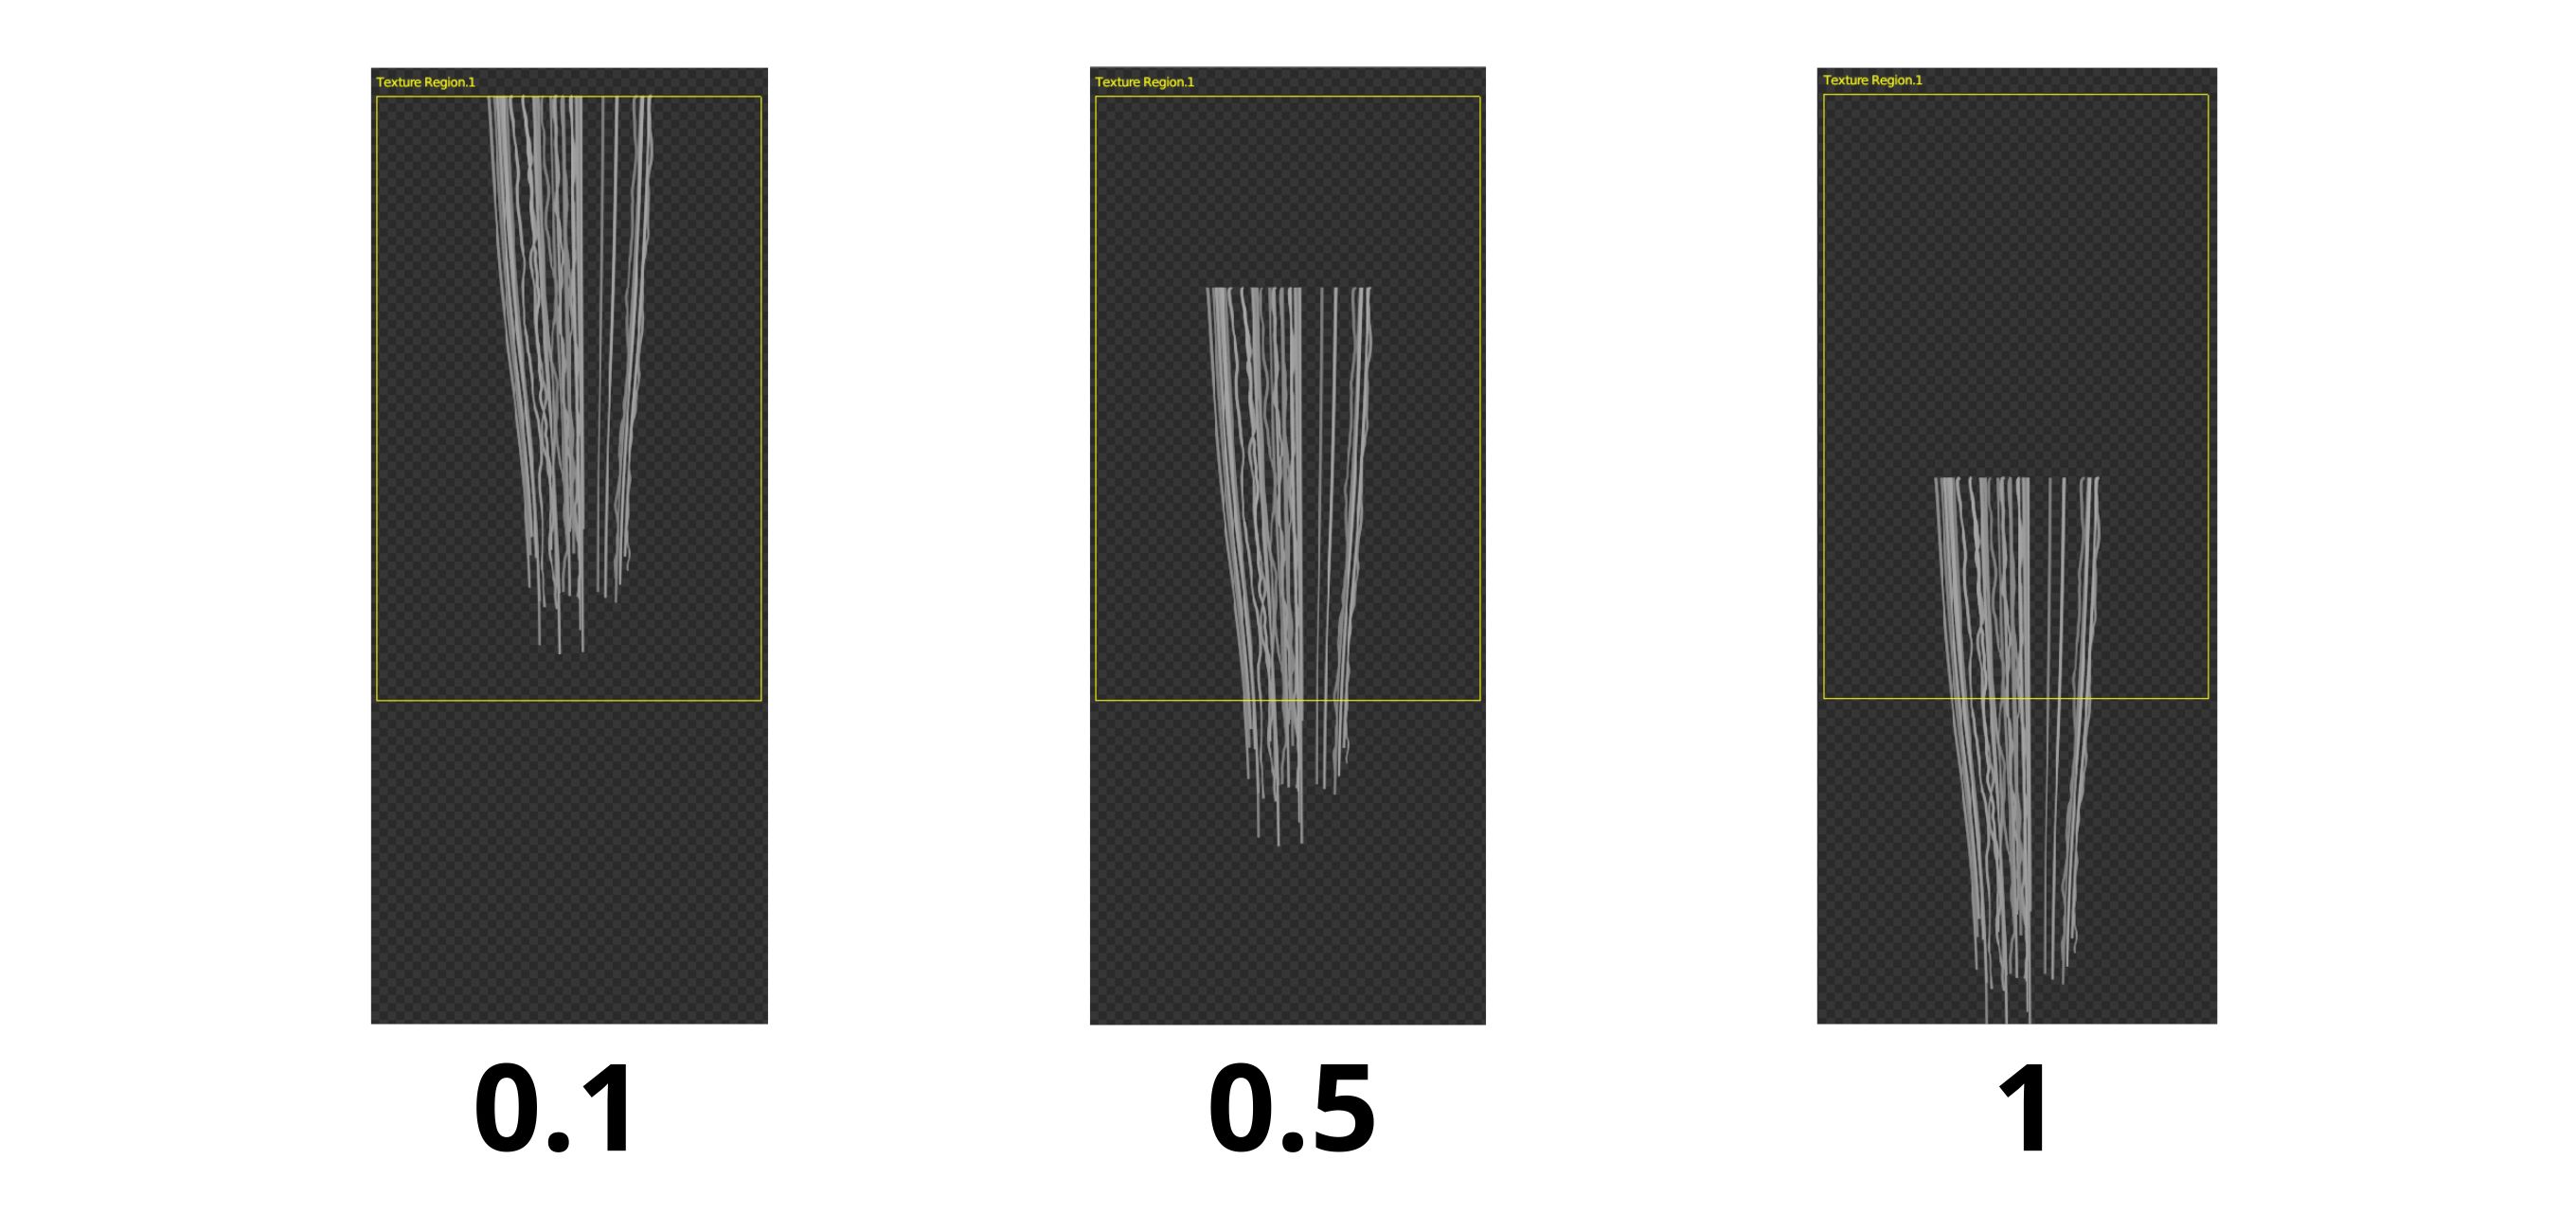
Texture Region Width: The width of each texture in the UV coordinate.
Texture Region Height: The height of textures in the UV coordinate.
TIP
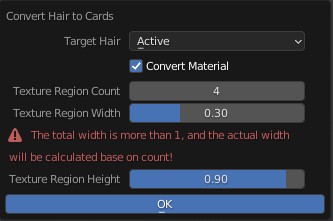
- The total width of all the textures should be smaller than 1. If the total width exceeds 1, an error will occur.
TIP
- The converted cards are curves instead of meshes.
After Conversion
There are four sections of this feature—hair card settings, texture settings, material settings and texture output.
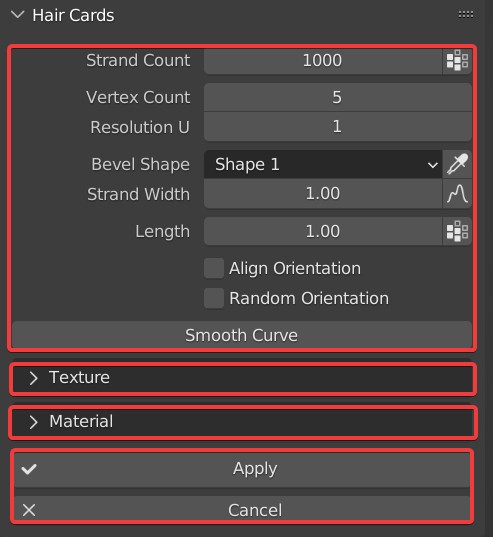
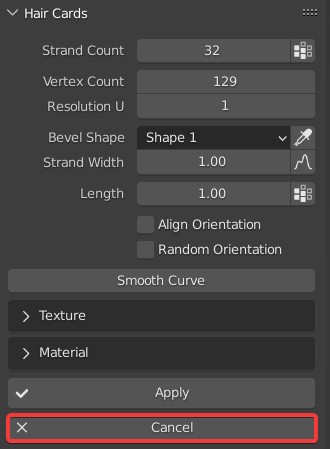
Hair Card Settings
- Strand Count: Controls the number of cards.
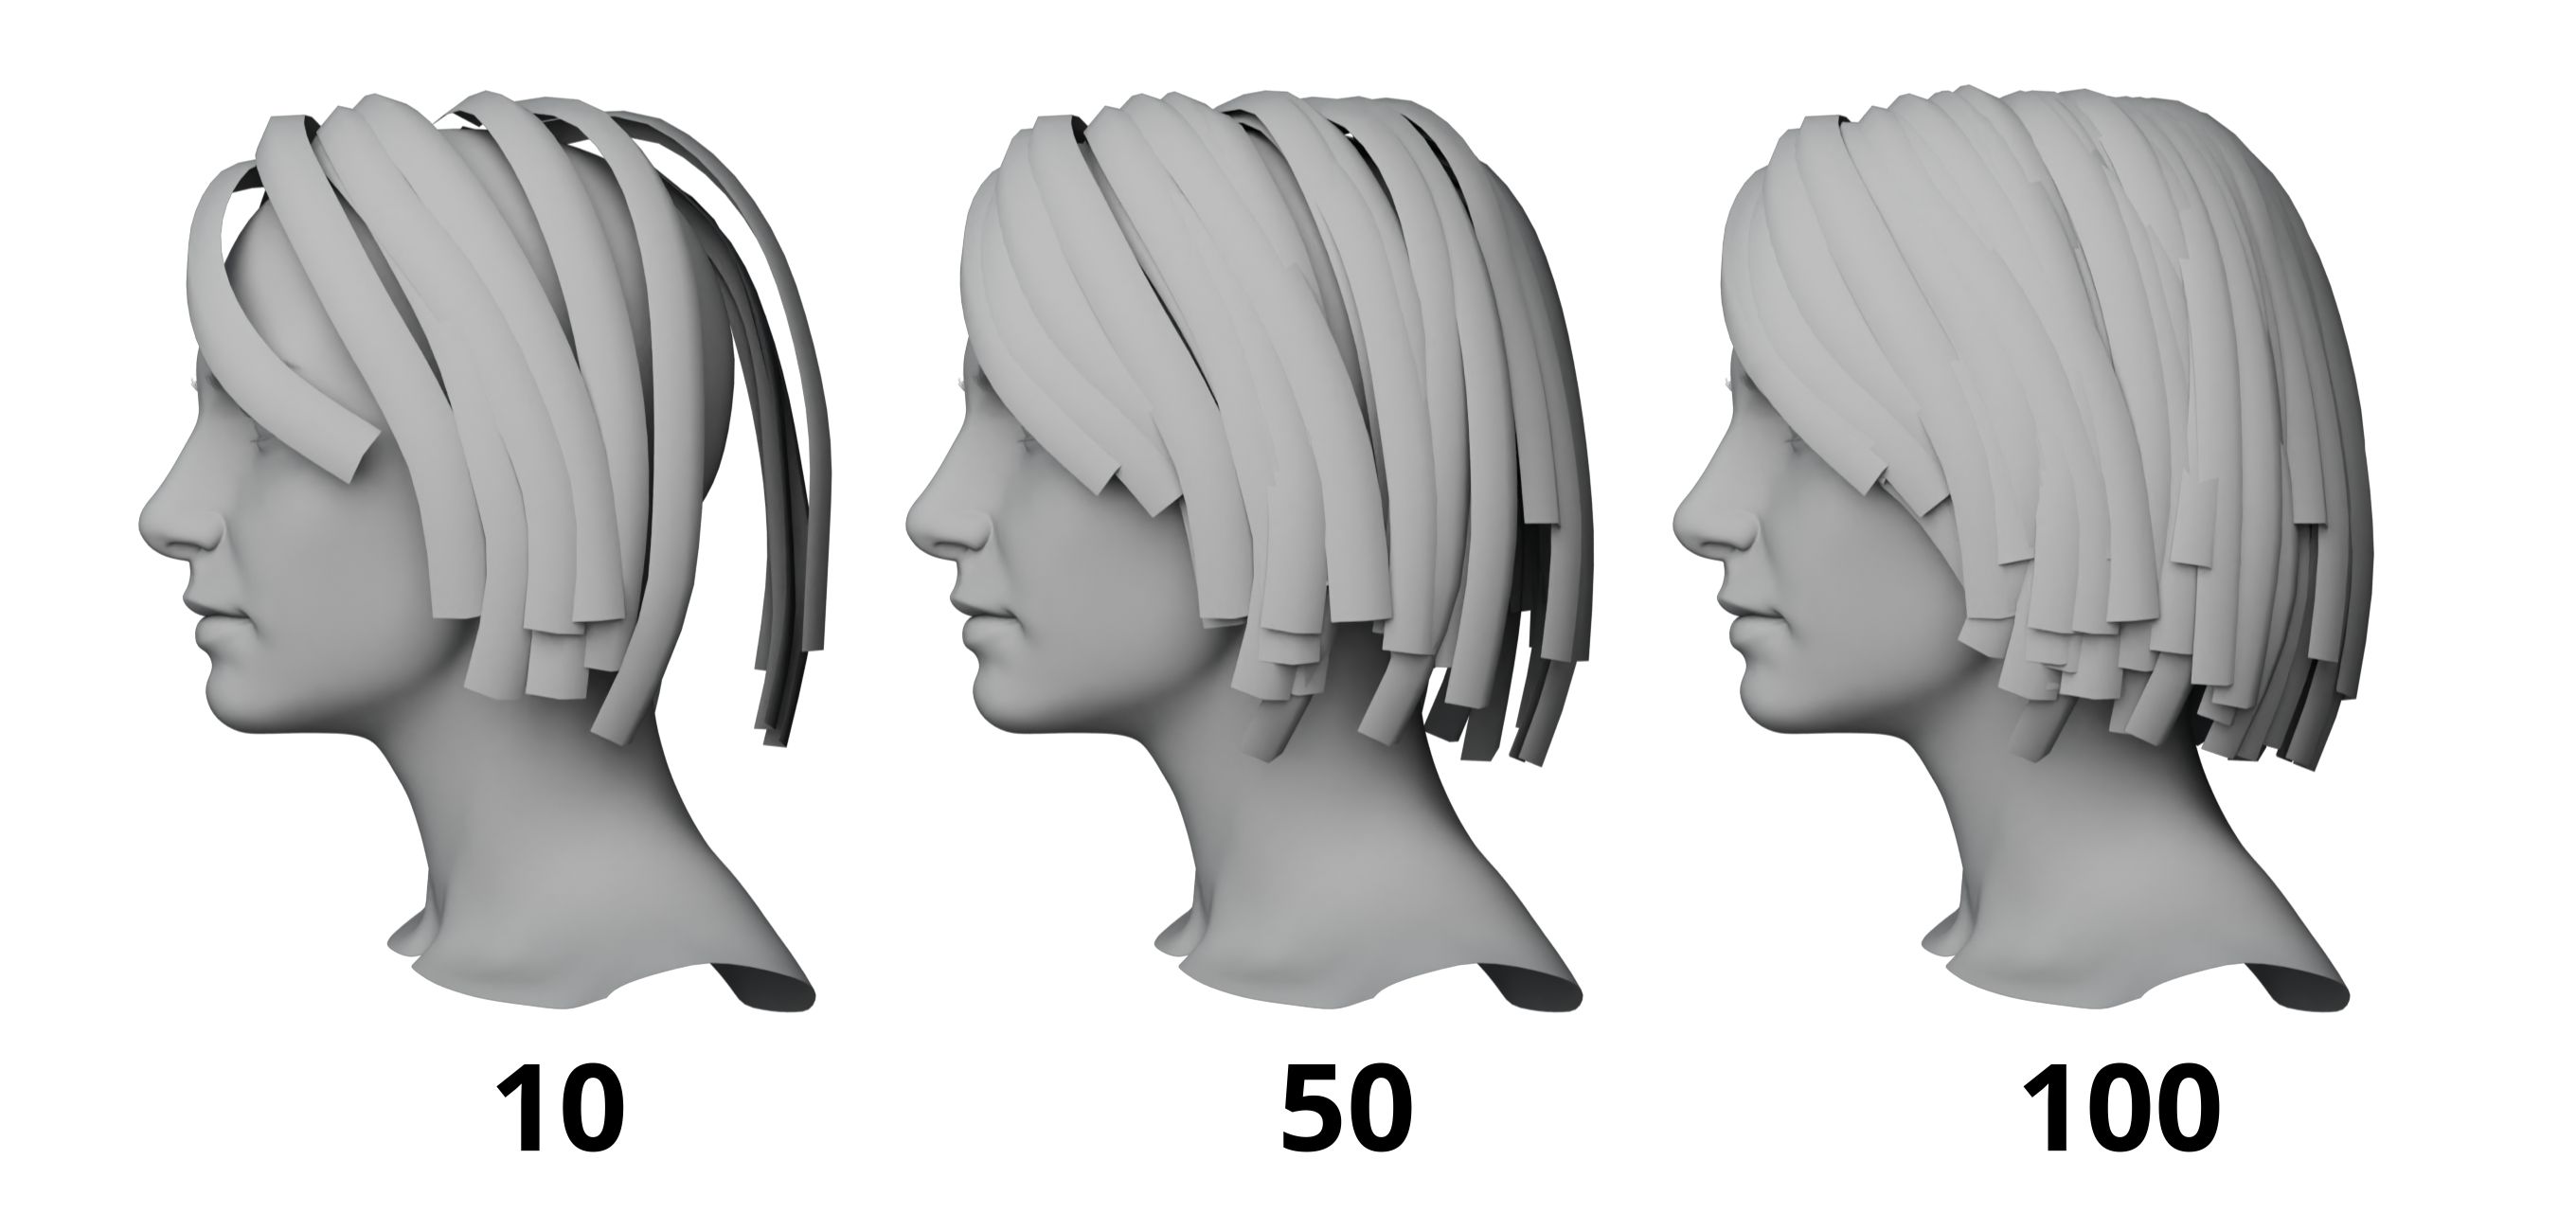
 | Icon1 | The growing area of hair cards is based on the growing area of particles. It's available to change the growing area through Icon1. |
|---|
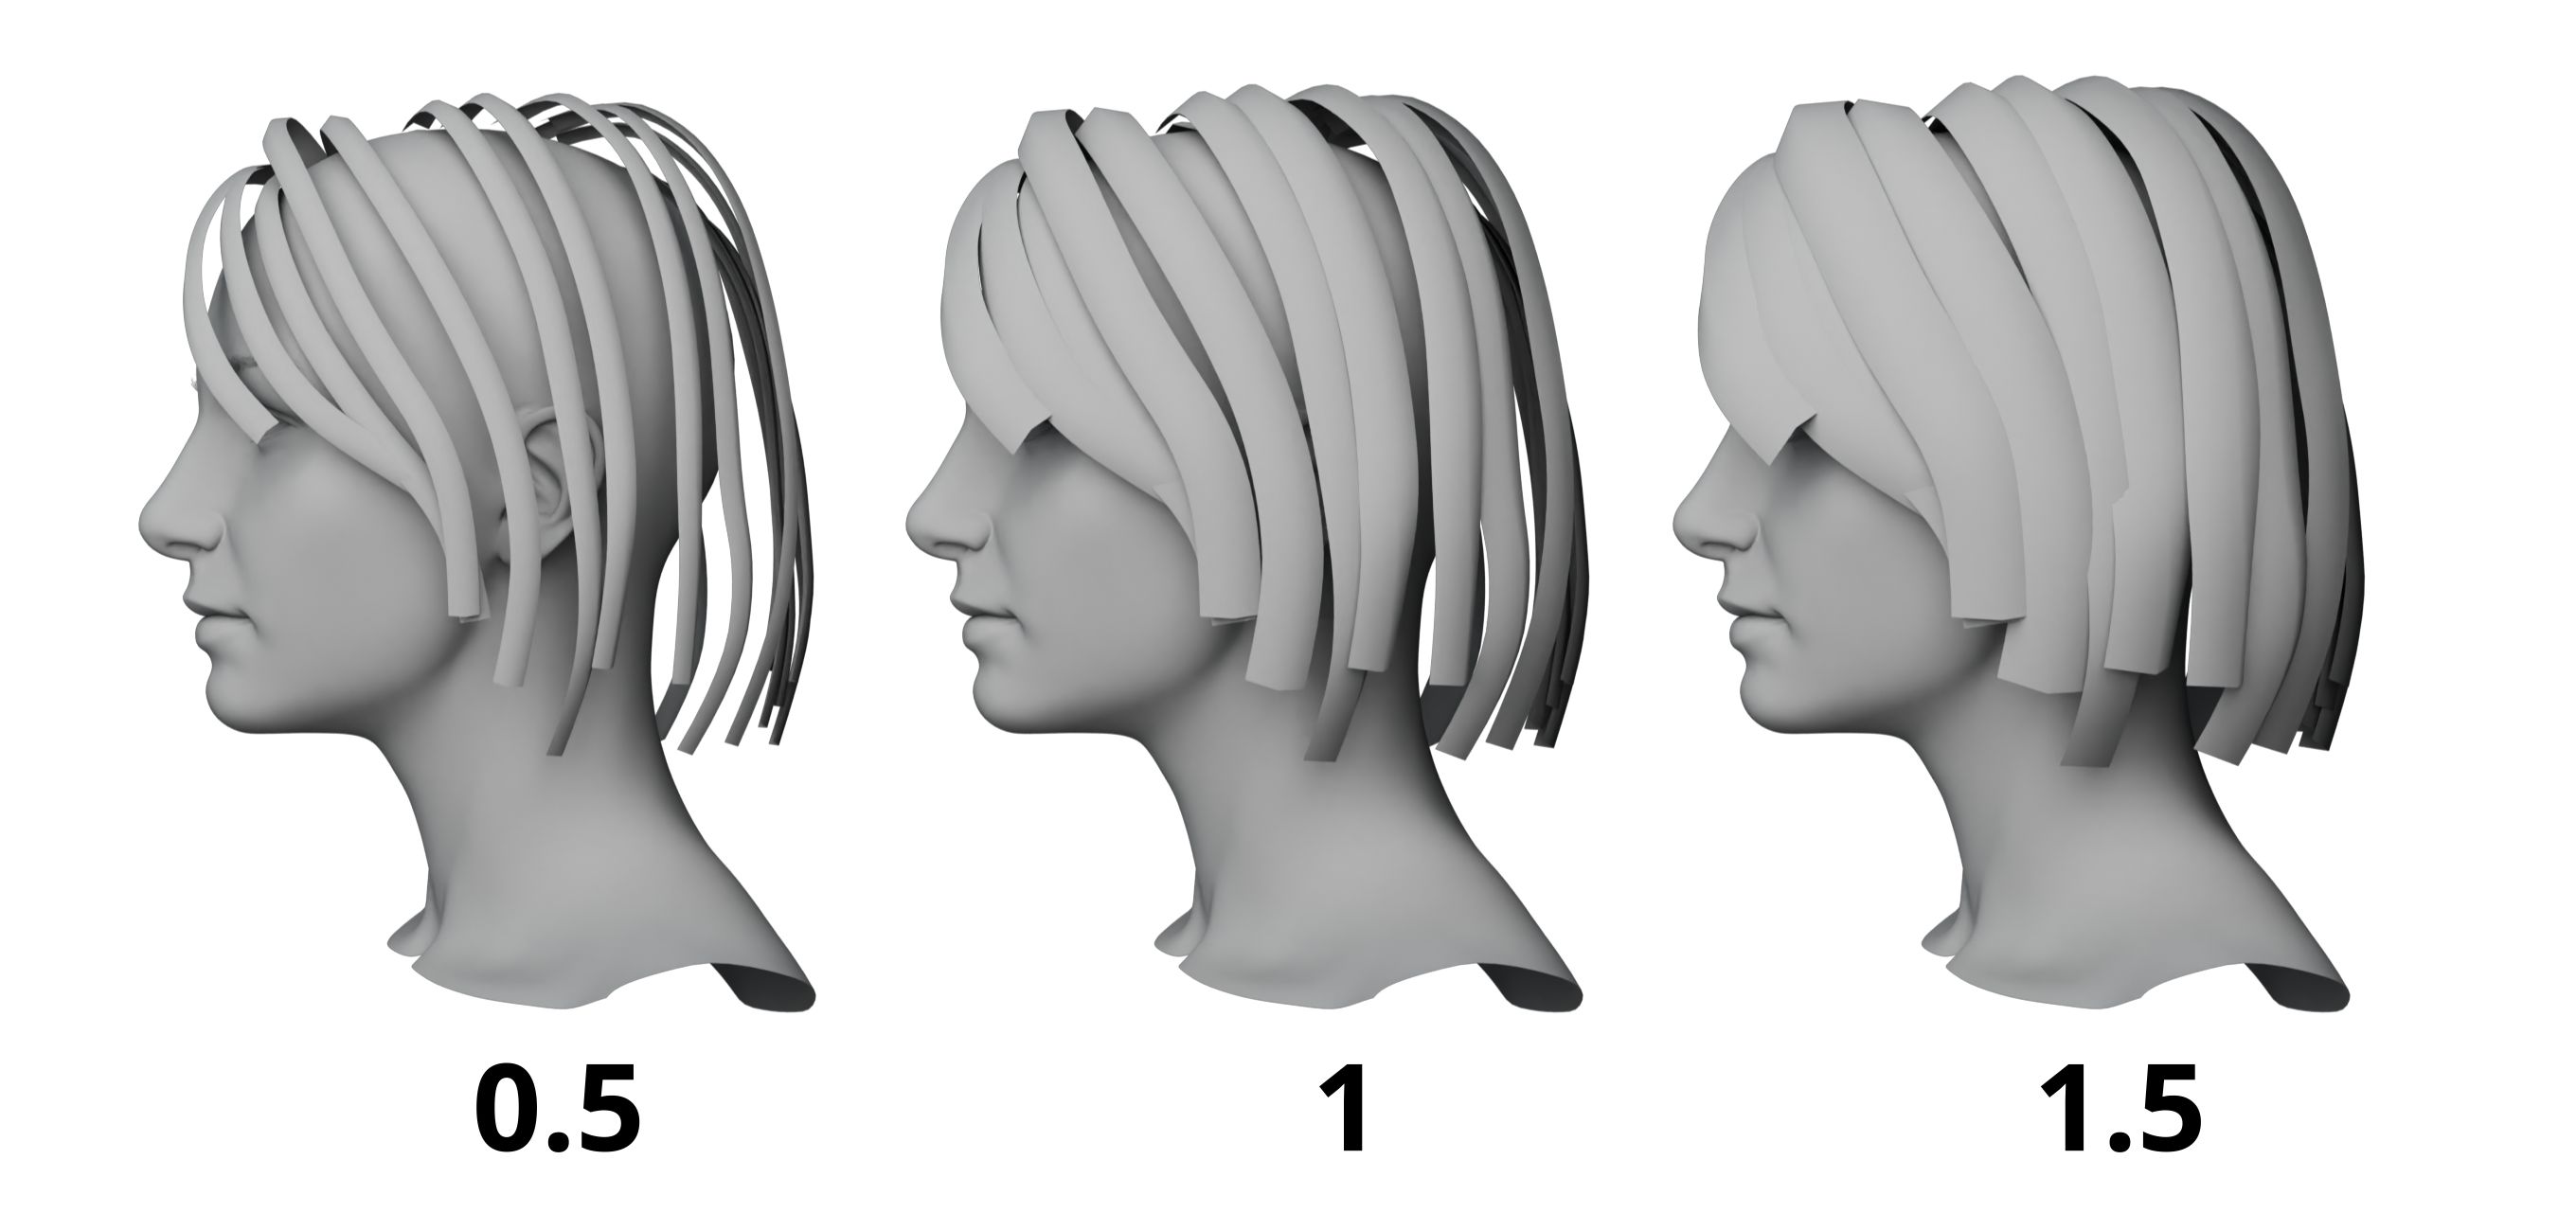
- Vertex Count: The mesh of the card becomes sharp when decreasing this value, and a larger value makes the cards smooth. It is recommended to set a larger value for better results if the hair is quite curly.
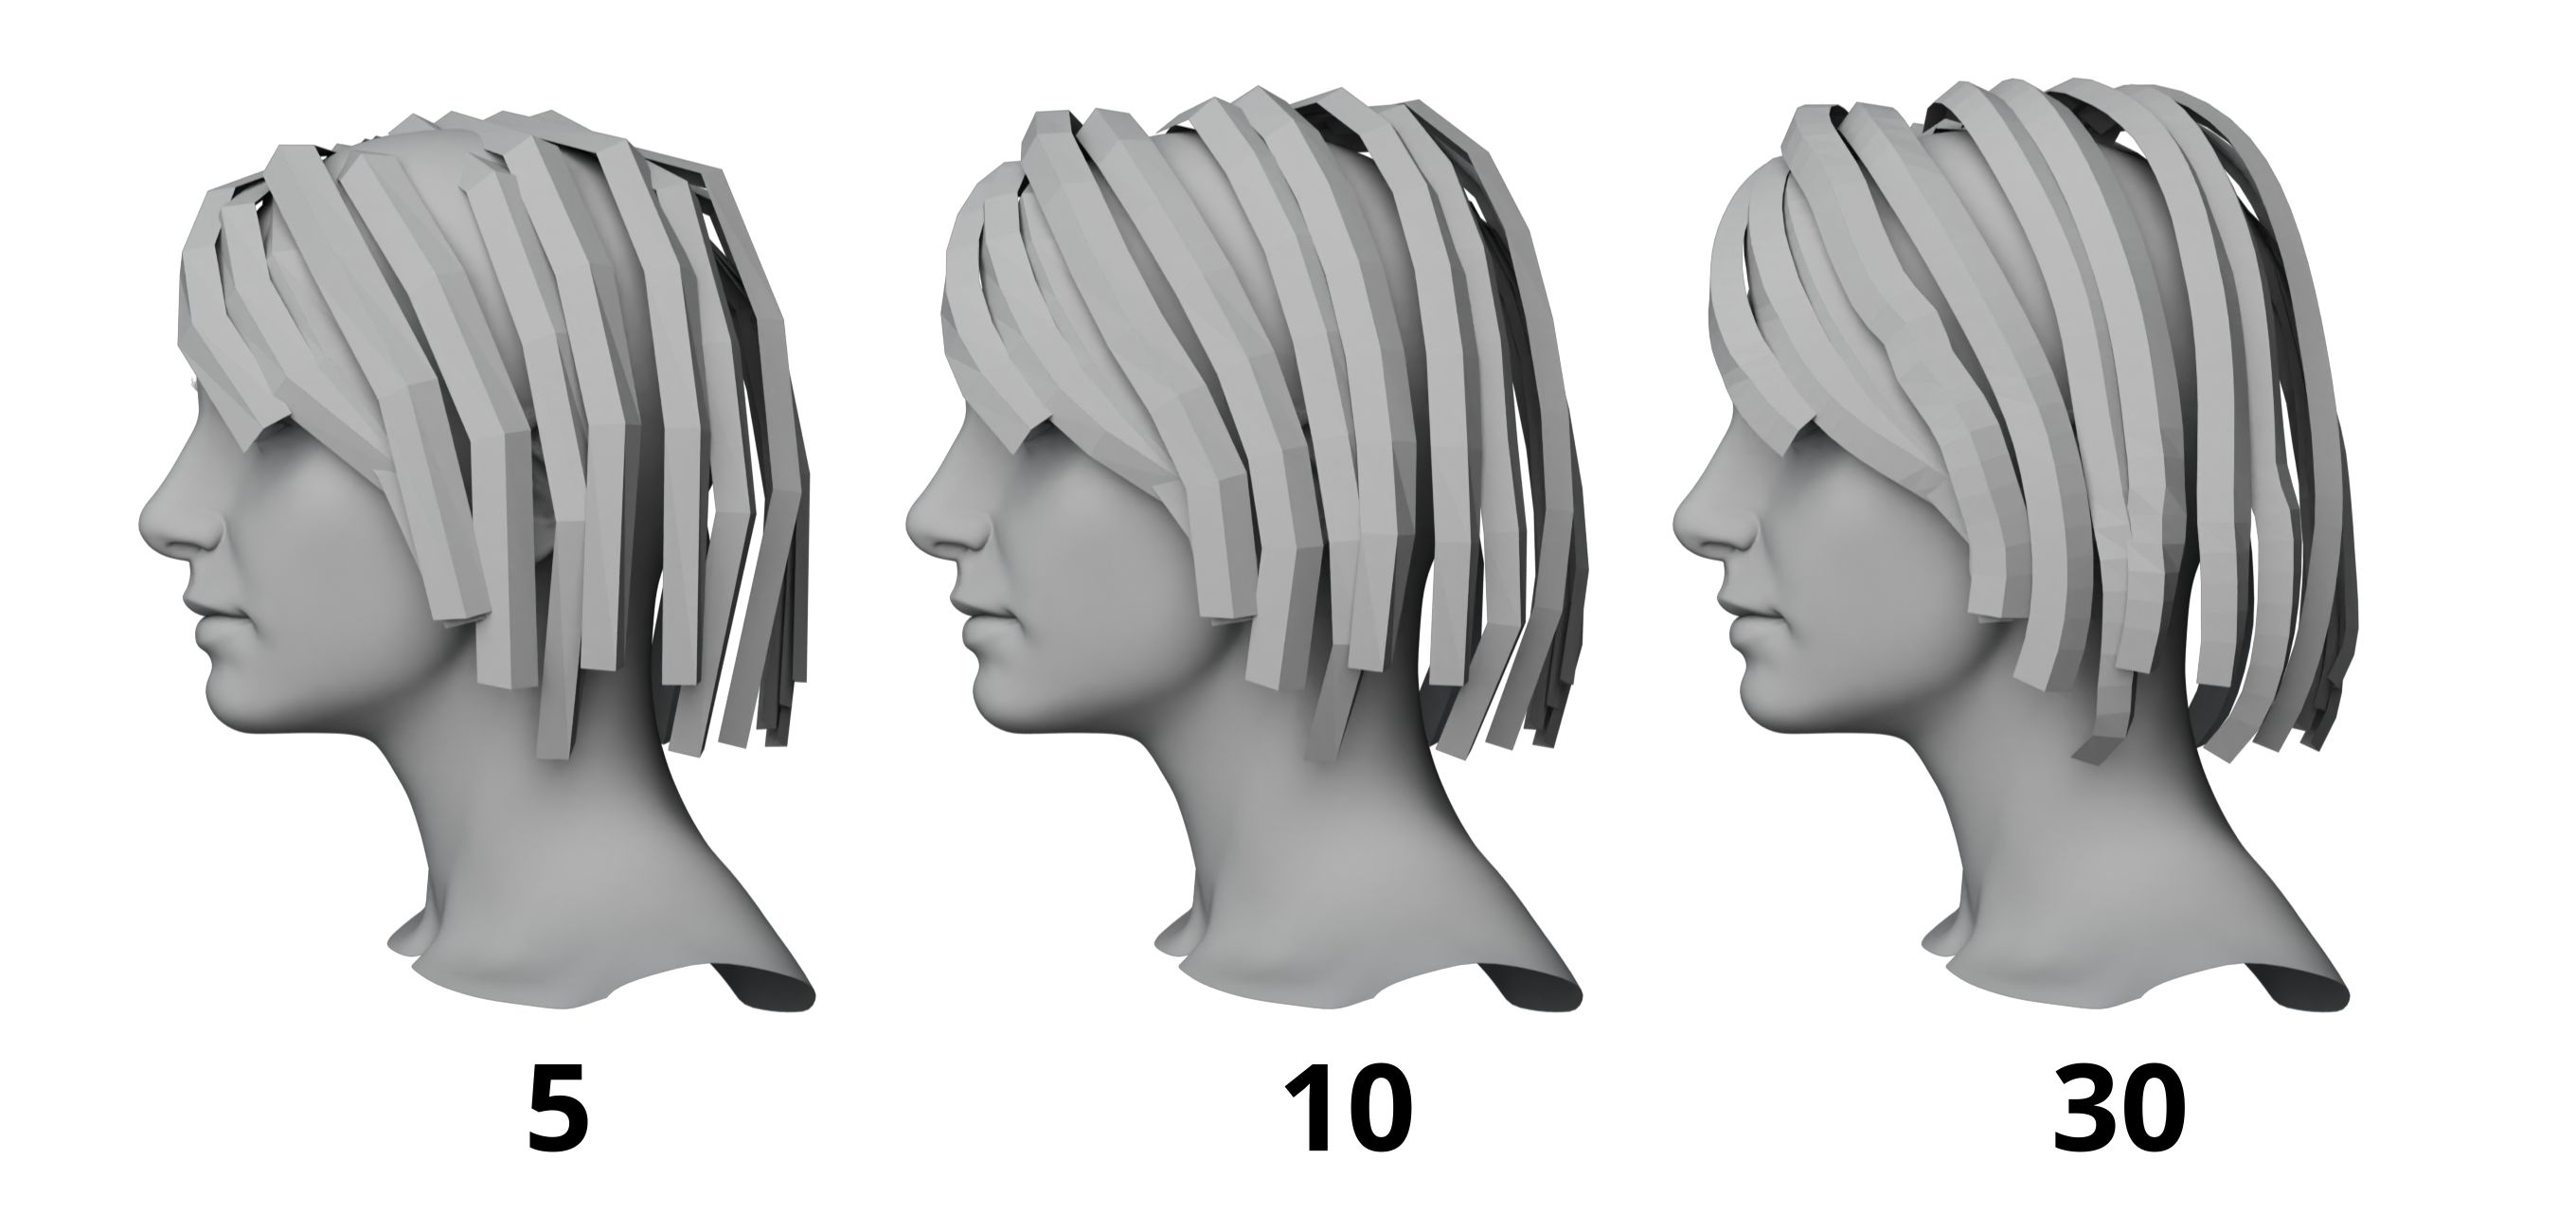
- Resolution U: Subdivides the hair cards. Increase Resolution U to smooth hair cards.
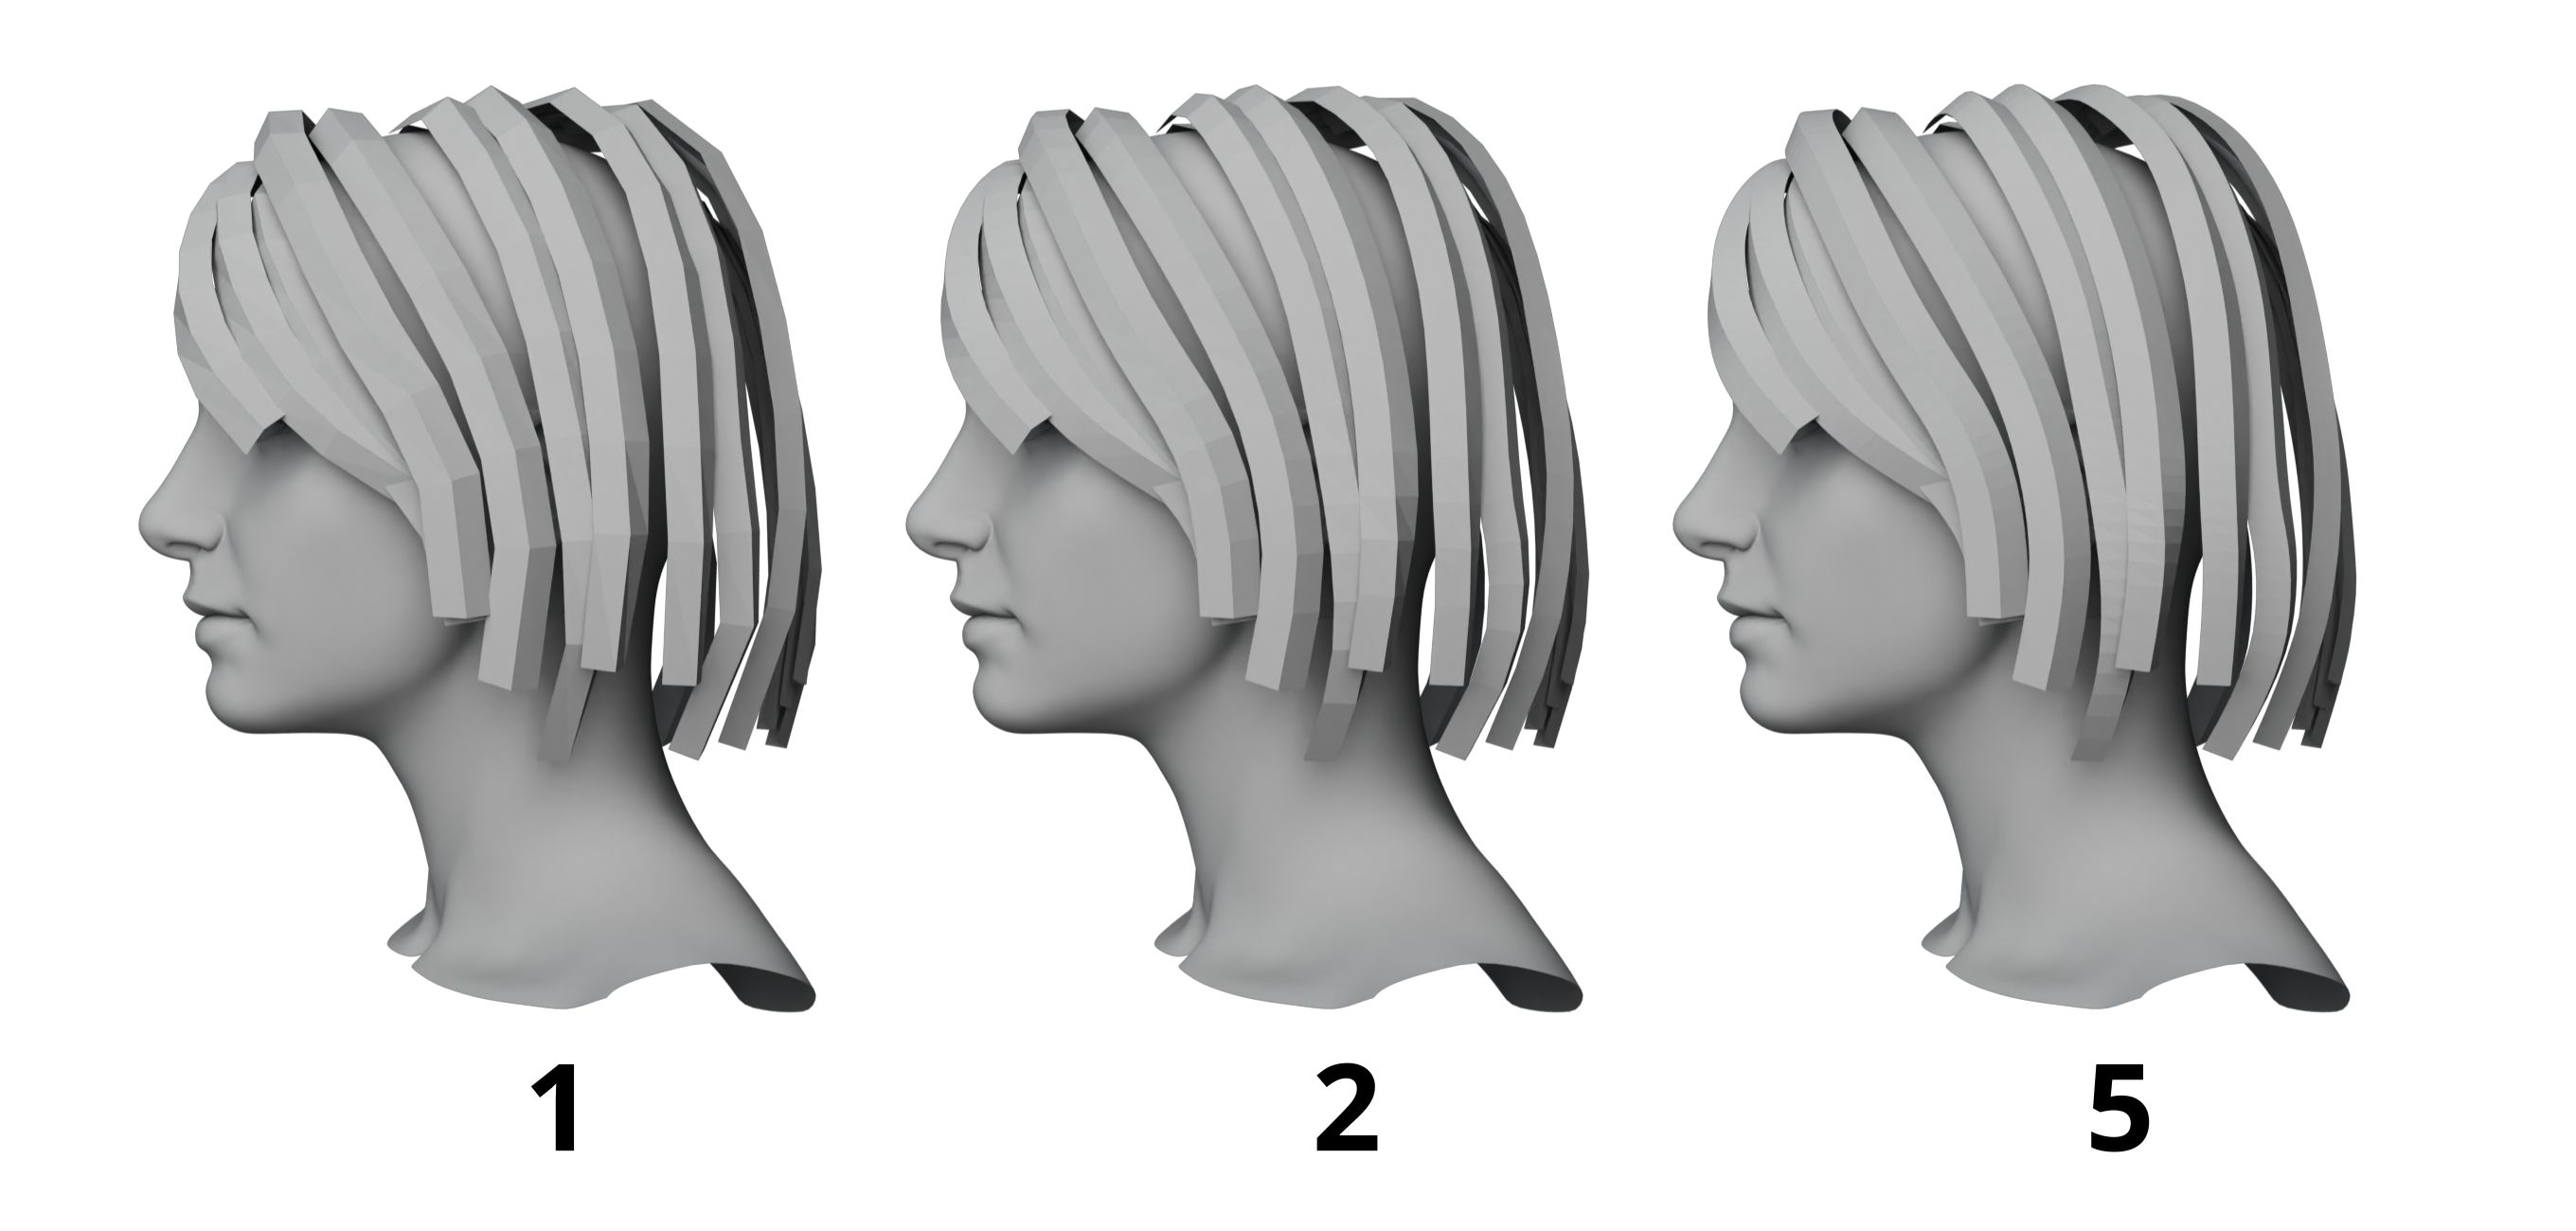
TIP
Resolution U can work together with Vertex Count. If we only set Vertex Count too high for smooth shape, there will be too many bendings and the curve of hair cards cannot be smooth. With Resolution U, we can set a proper Vertex Count for a rough shape, and then increase Resolution U to smooth the hair cards.
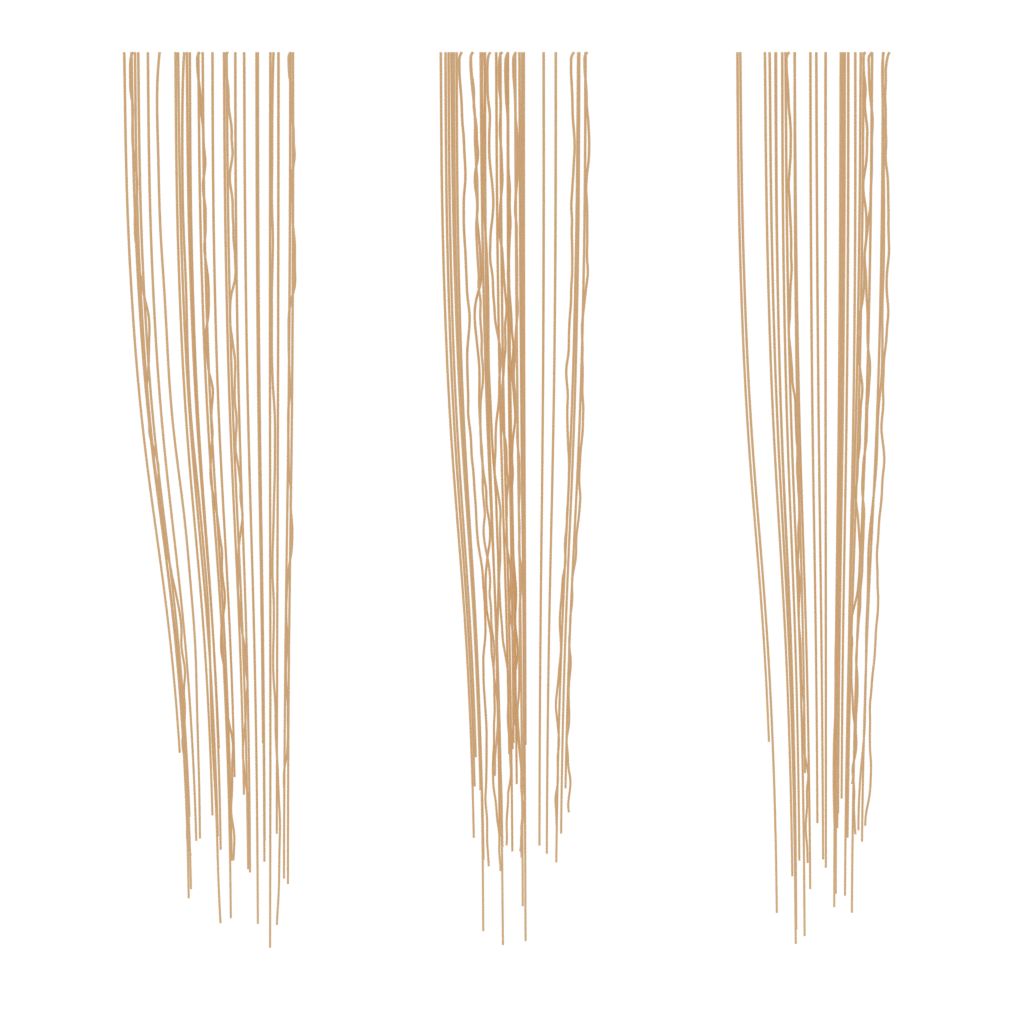
- Bevel Shape: Controls the shape on the bevel. There are five built-in presets which can be selected according to different hairstyles.
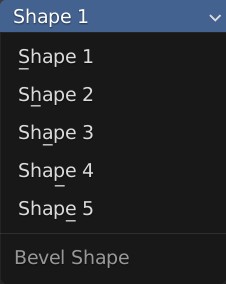
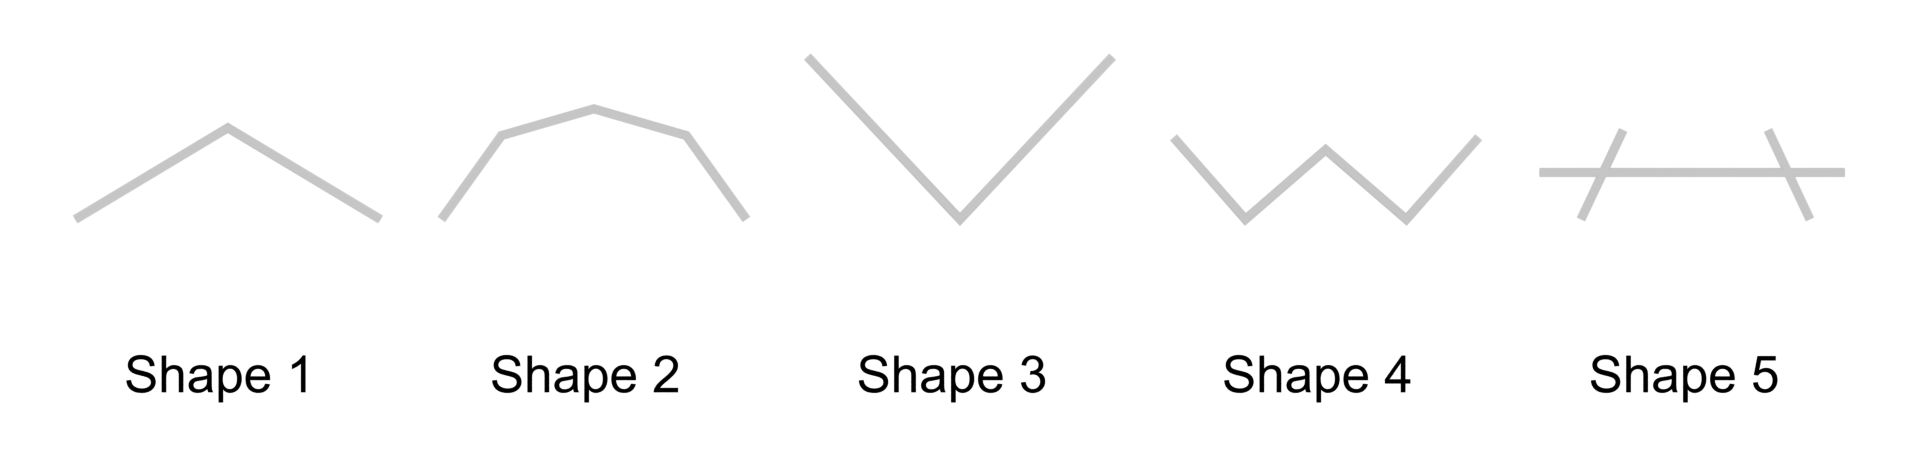
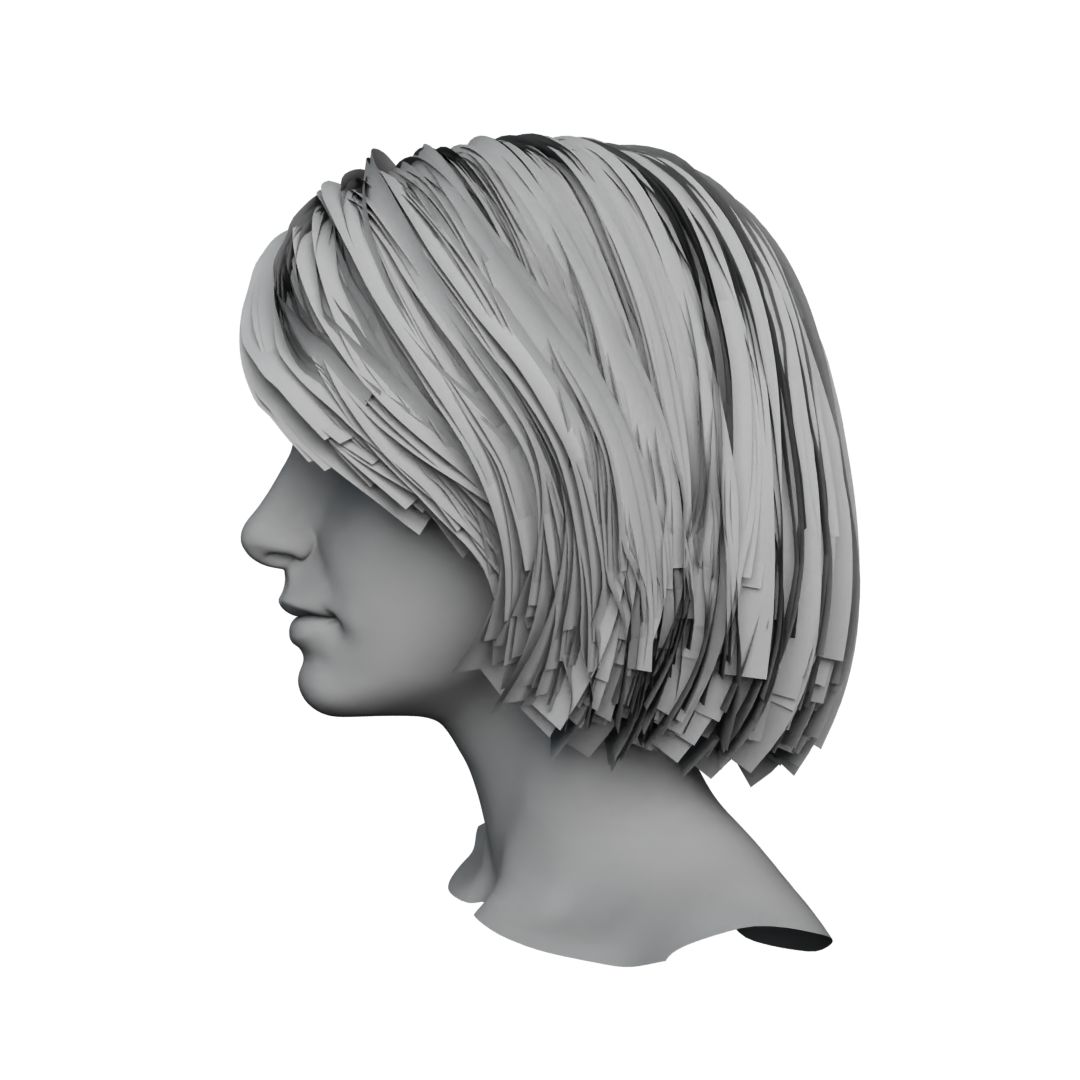
Shape 1, 2 and 5 can be used to set density, color, etc, suitable for basic hair.
The image below demonstrates the rendered result of Shape 1.
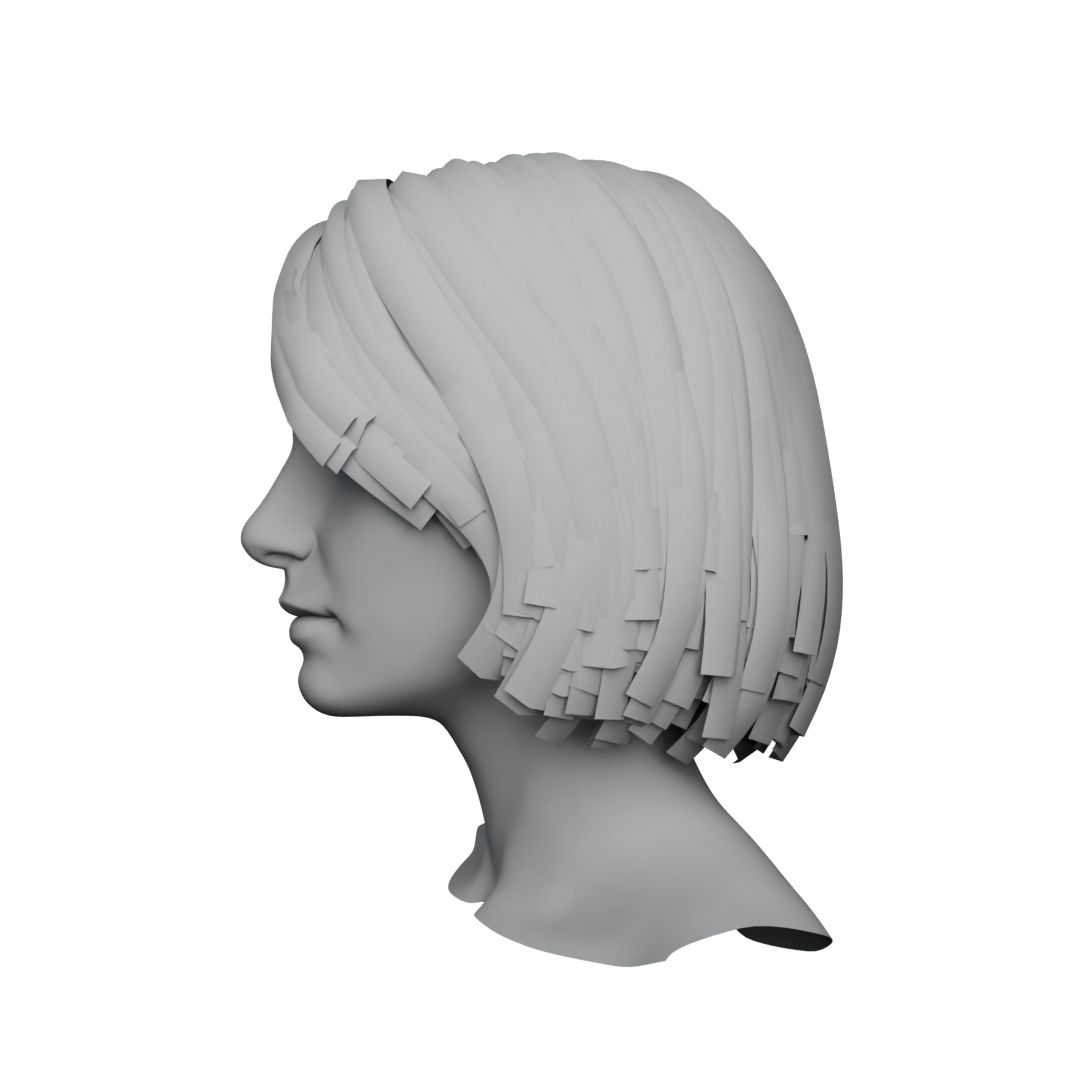 |  |
|---|
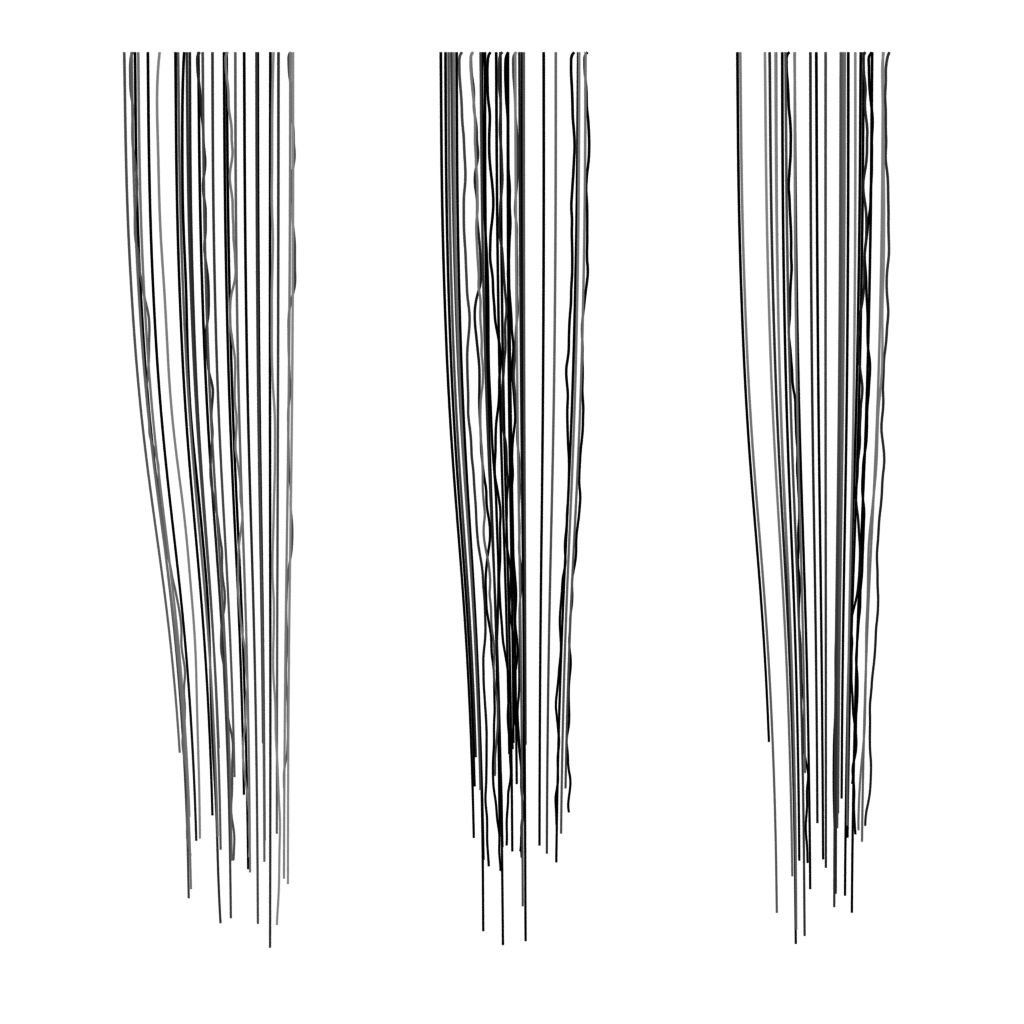
Shape 3 and 4 are suitable for the random hair in the outer layer, and they can work well with the basic hair presets to reduce the sense of card and make the hair more realistic.
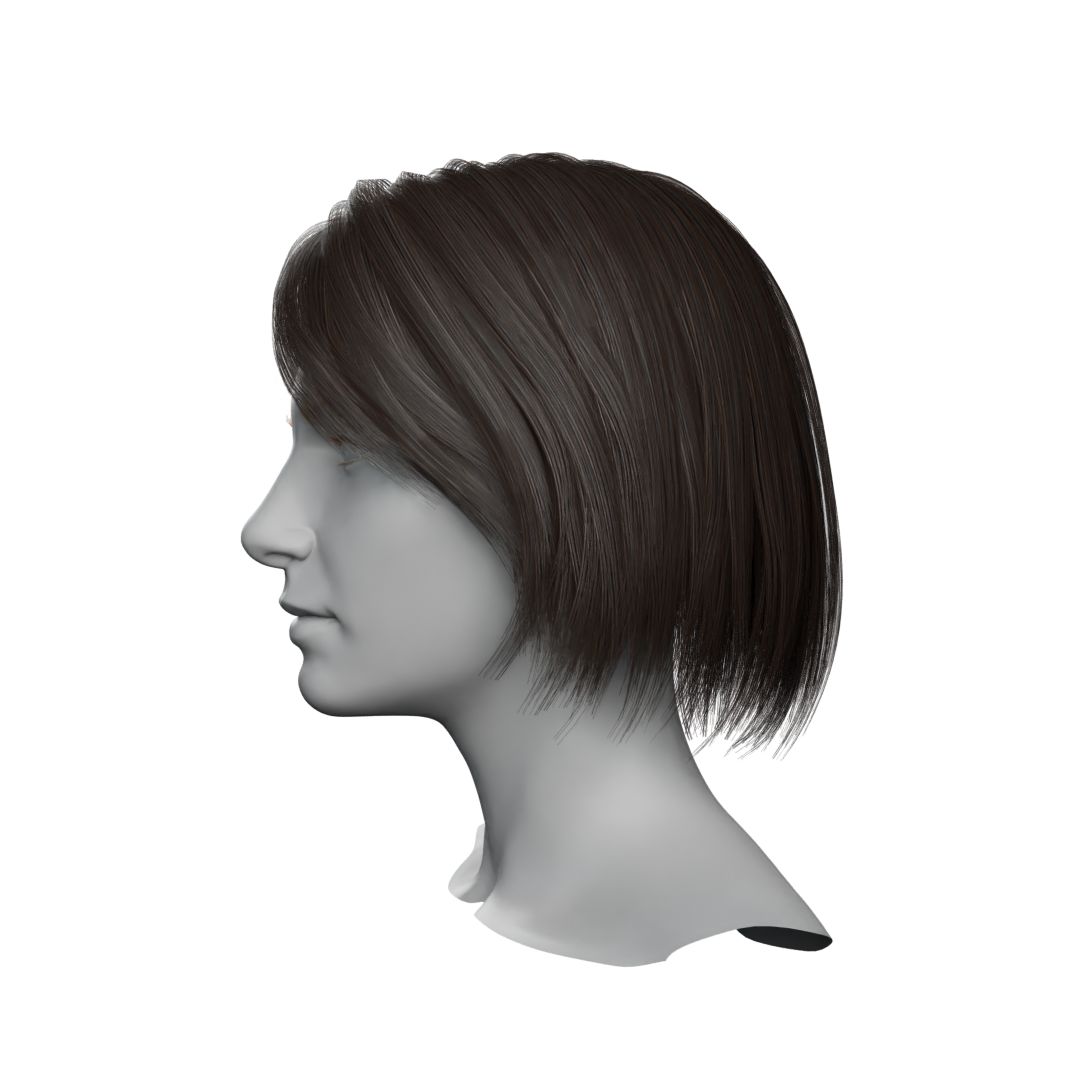
The image below demonstrates the rendered result of Shape 3.
 | 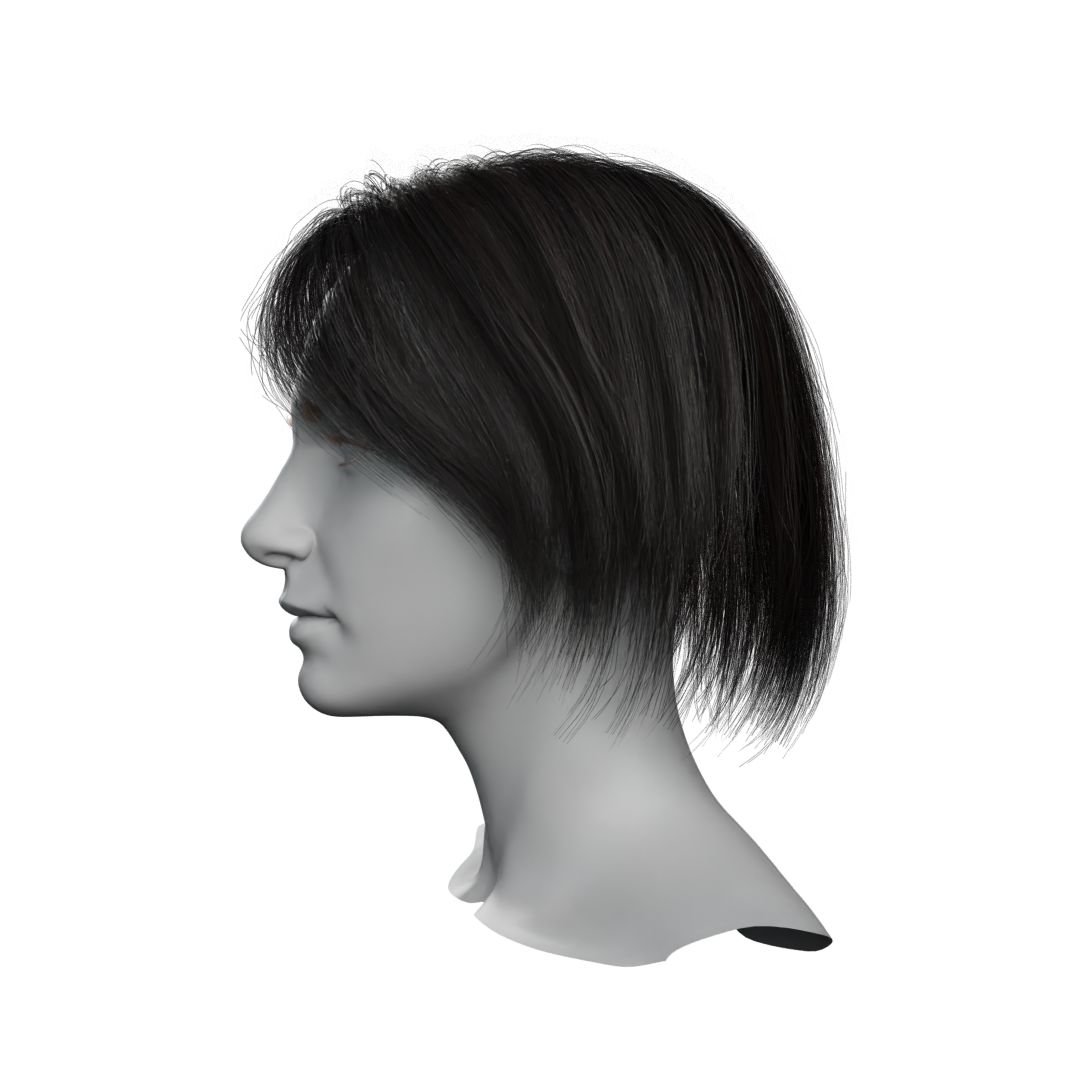 |
|---|
 | Icon2 | Click Icon2 to select a curve, and the selected built-in shape will be automatically generated. |
|---|
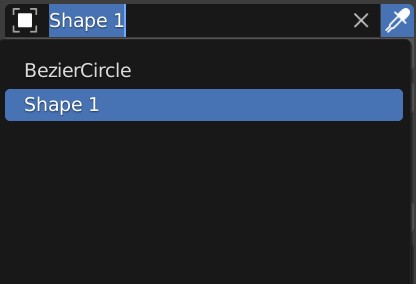
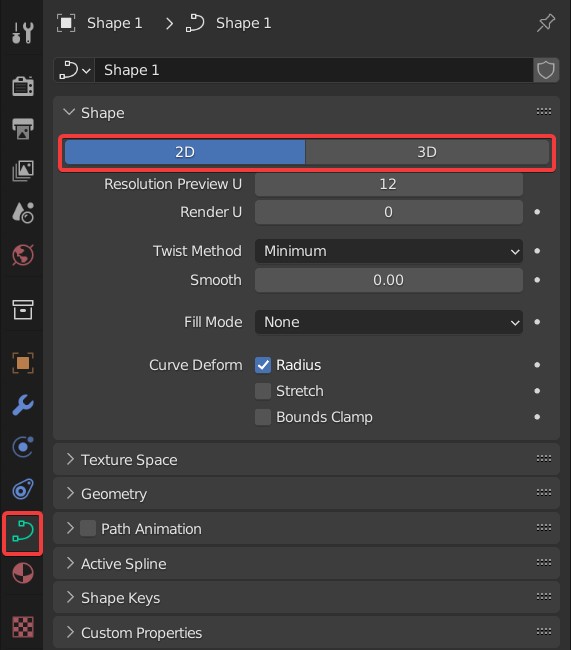
TIP
The shape must be 2D. 3D doesn't work properly.
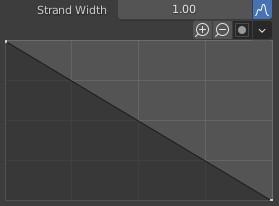
- Strand Width: Controls the width of hair cards.
 | Icon3 | Click Icon3 to control it using a curve. |
|---|
- Length: Controls the length of hair cards. A larger value will lengthen the cards, and a lower value cuts the cards.

| Icon4 | By default, all cards are controlled. Click Icon4 to assign vertex groups and change the range. |
|---|
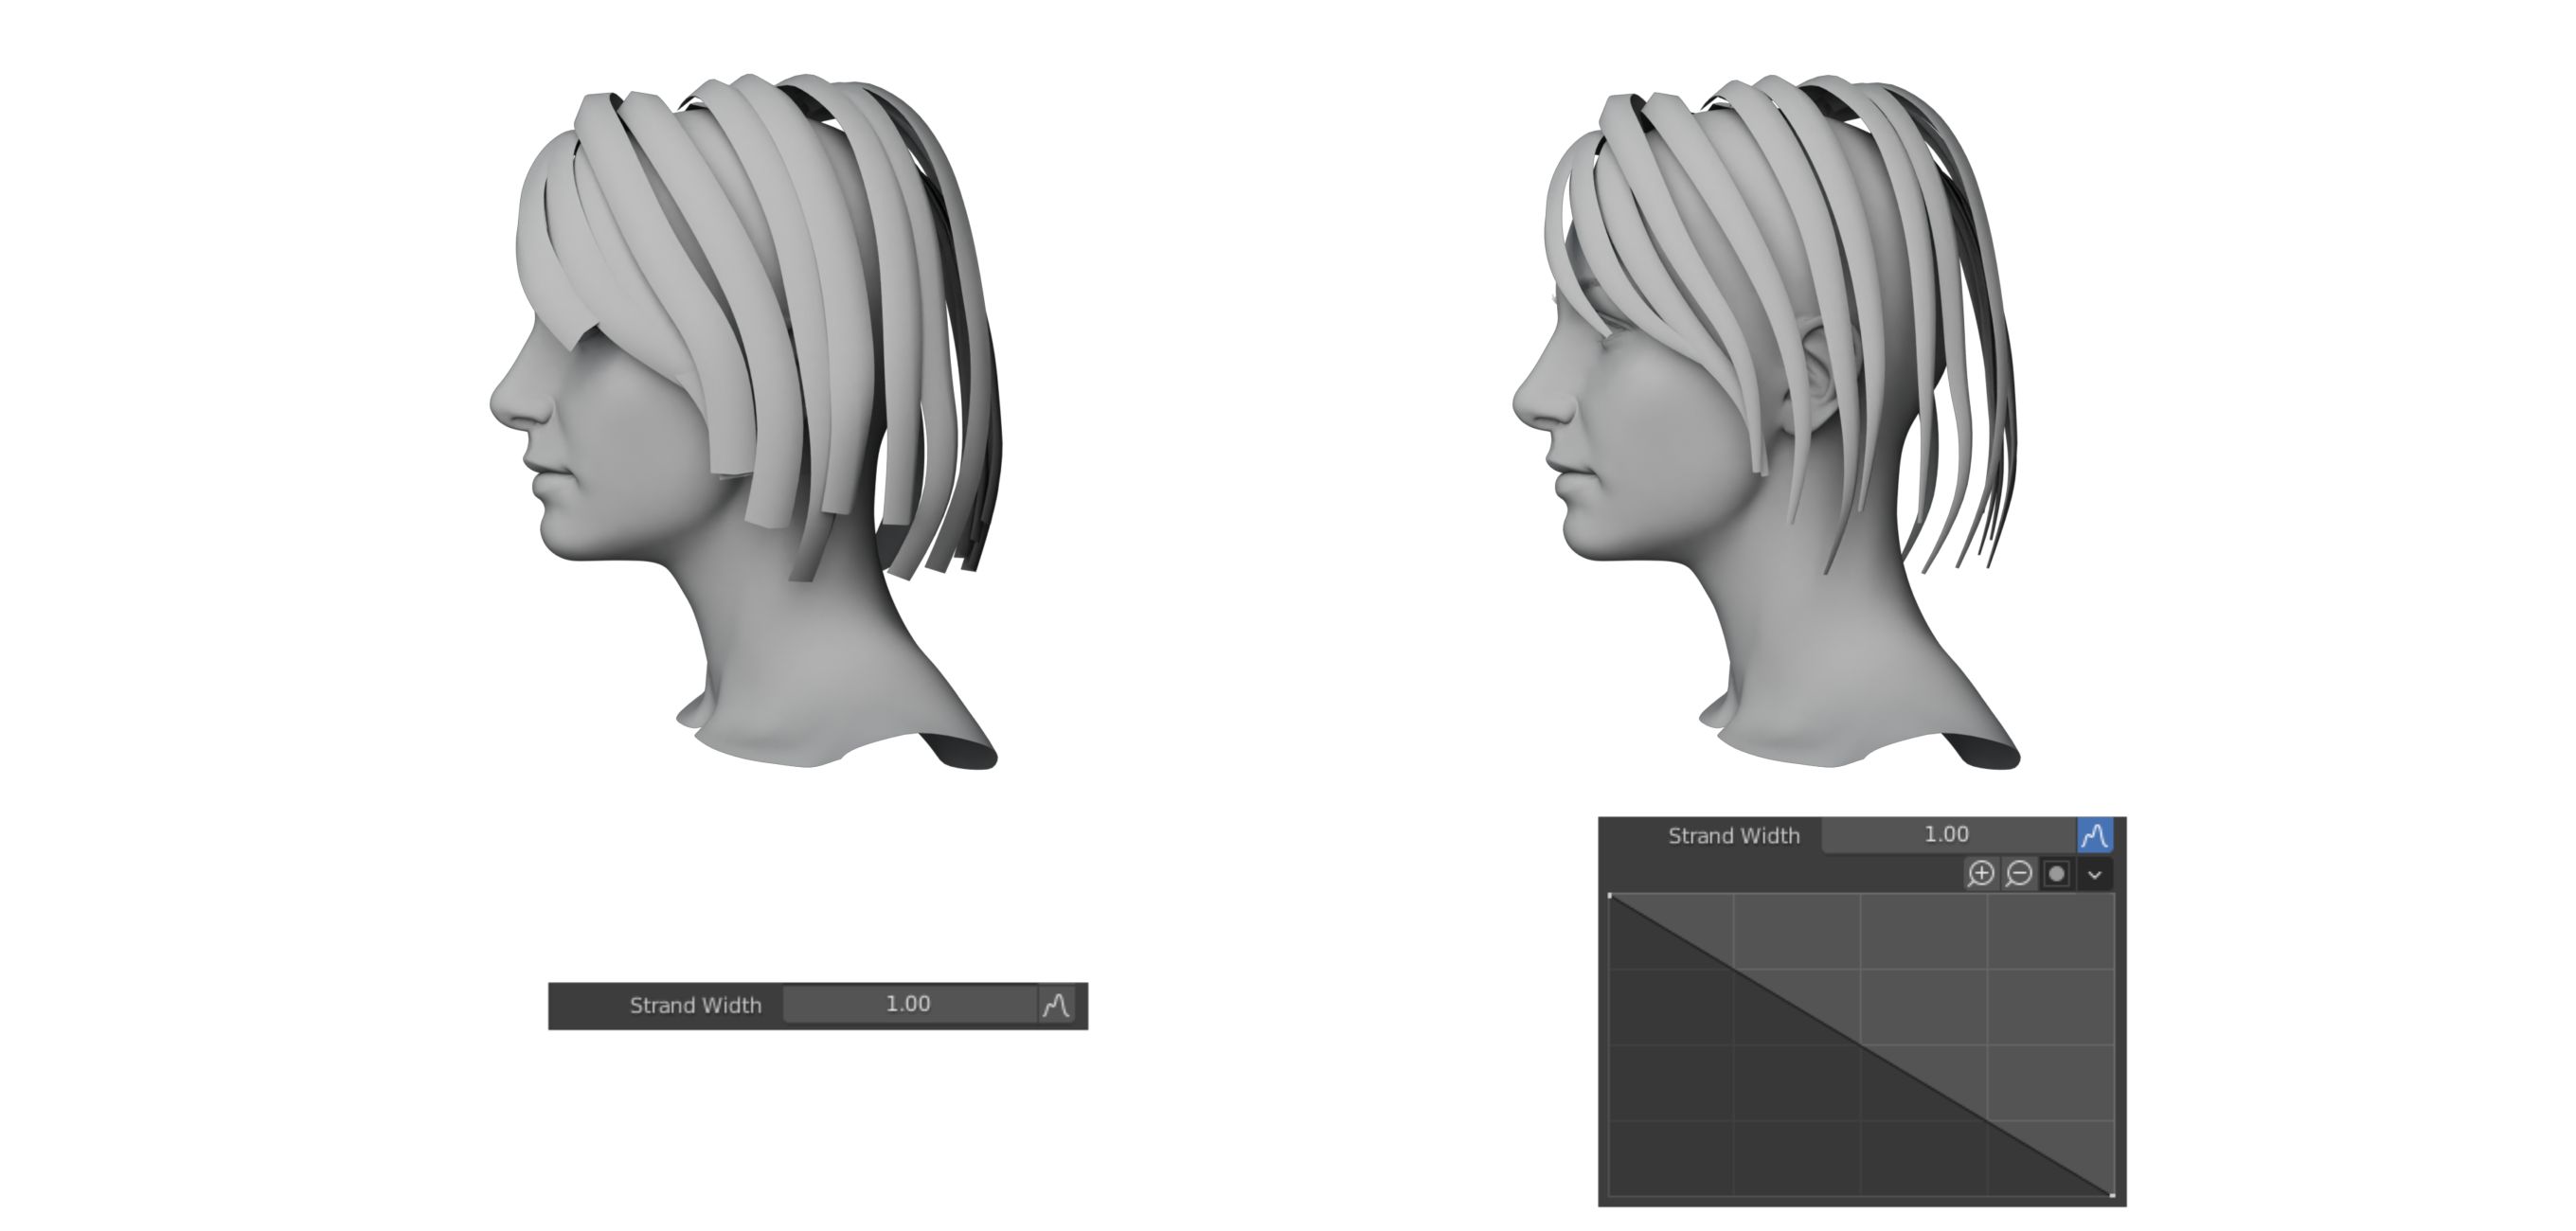
- Align Orientation: Turns the cards toward the surface of the object, which reduces chaotic interspersions or twists.
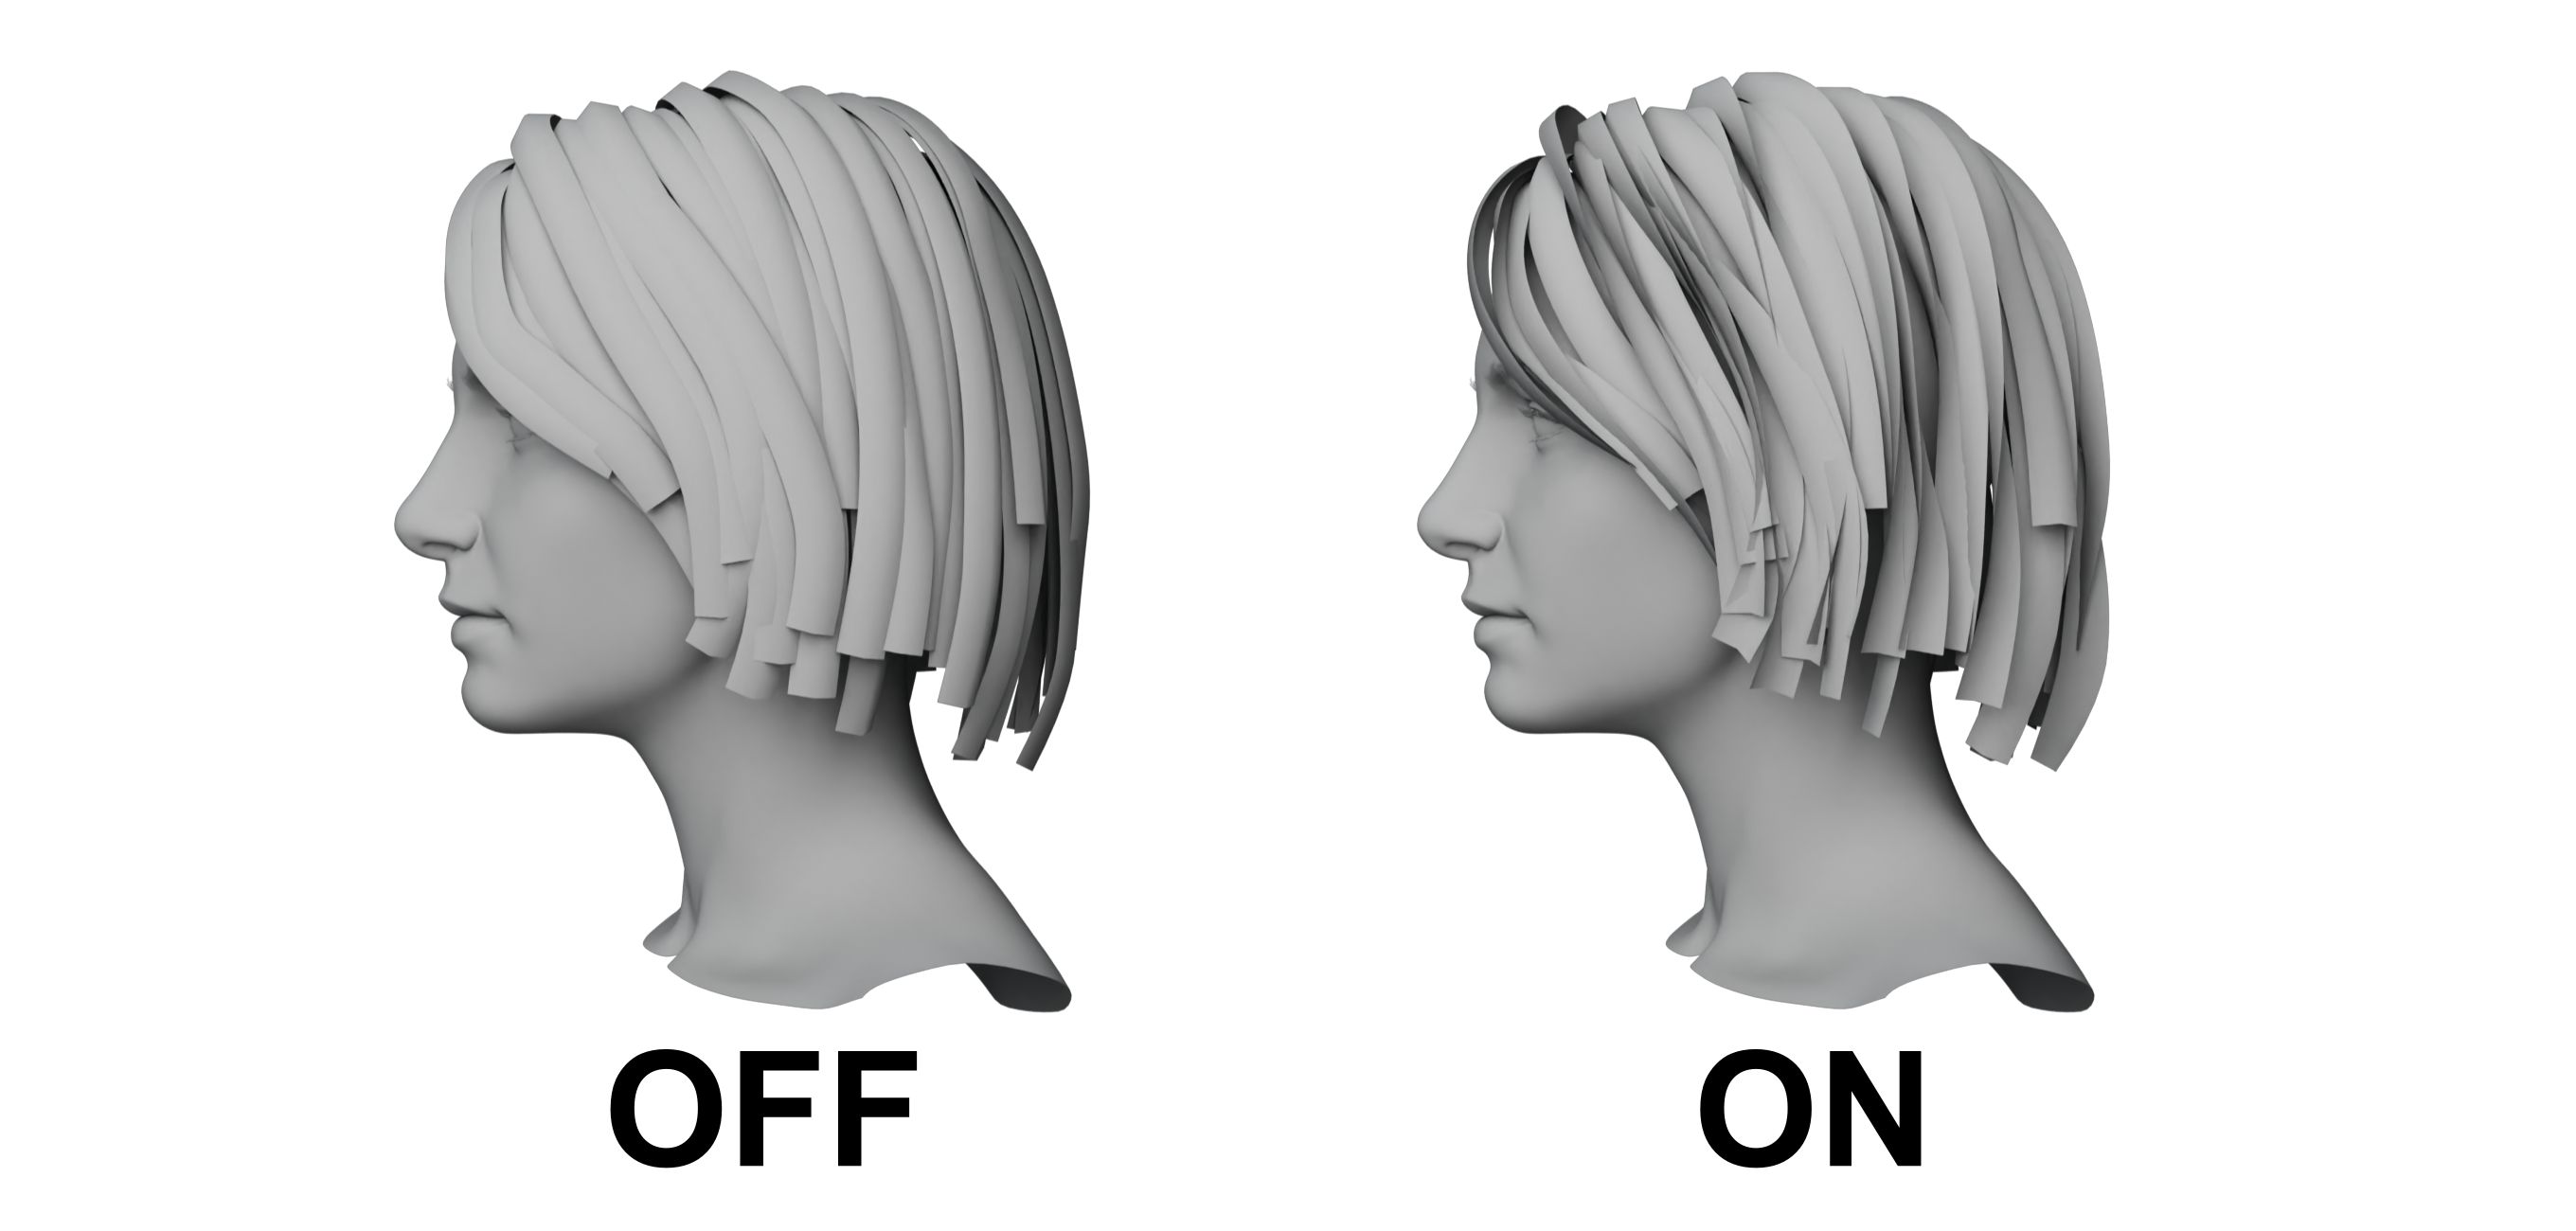
- Random Orientation: Randomize the orientation of twisted cards. Three additional options available.
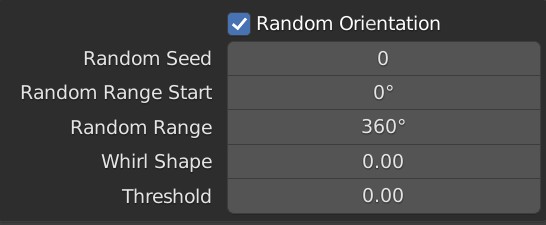
When we enable this option, the cards are all twisted randomly, which makes the cards more random and reduces the sense of hair cards.
Random Seed: The cards are twisted randomly as this value changes.
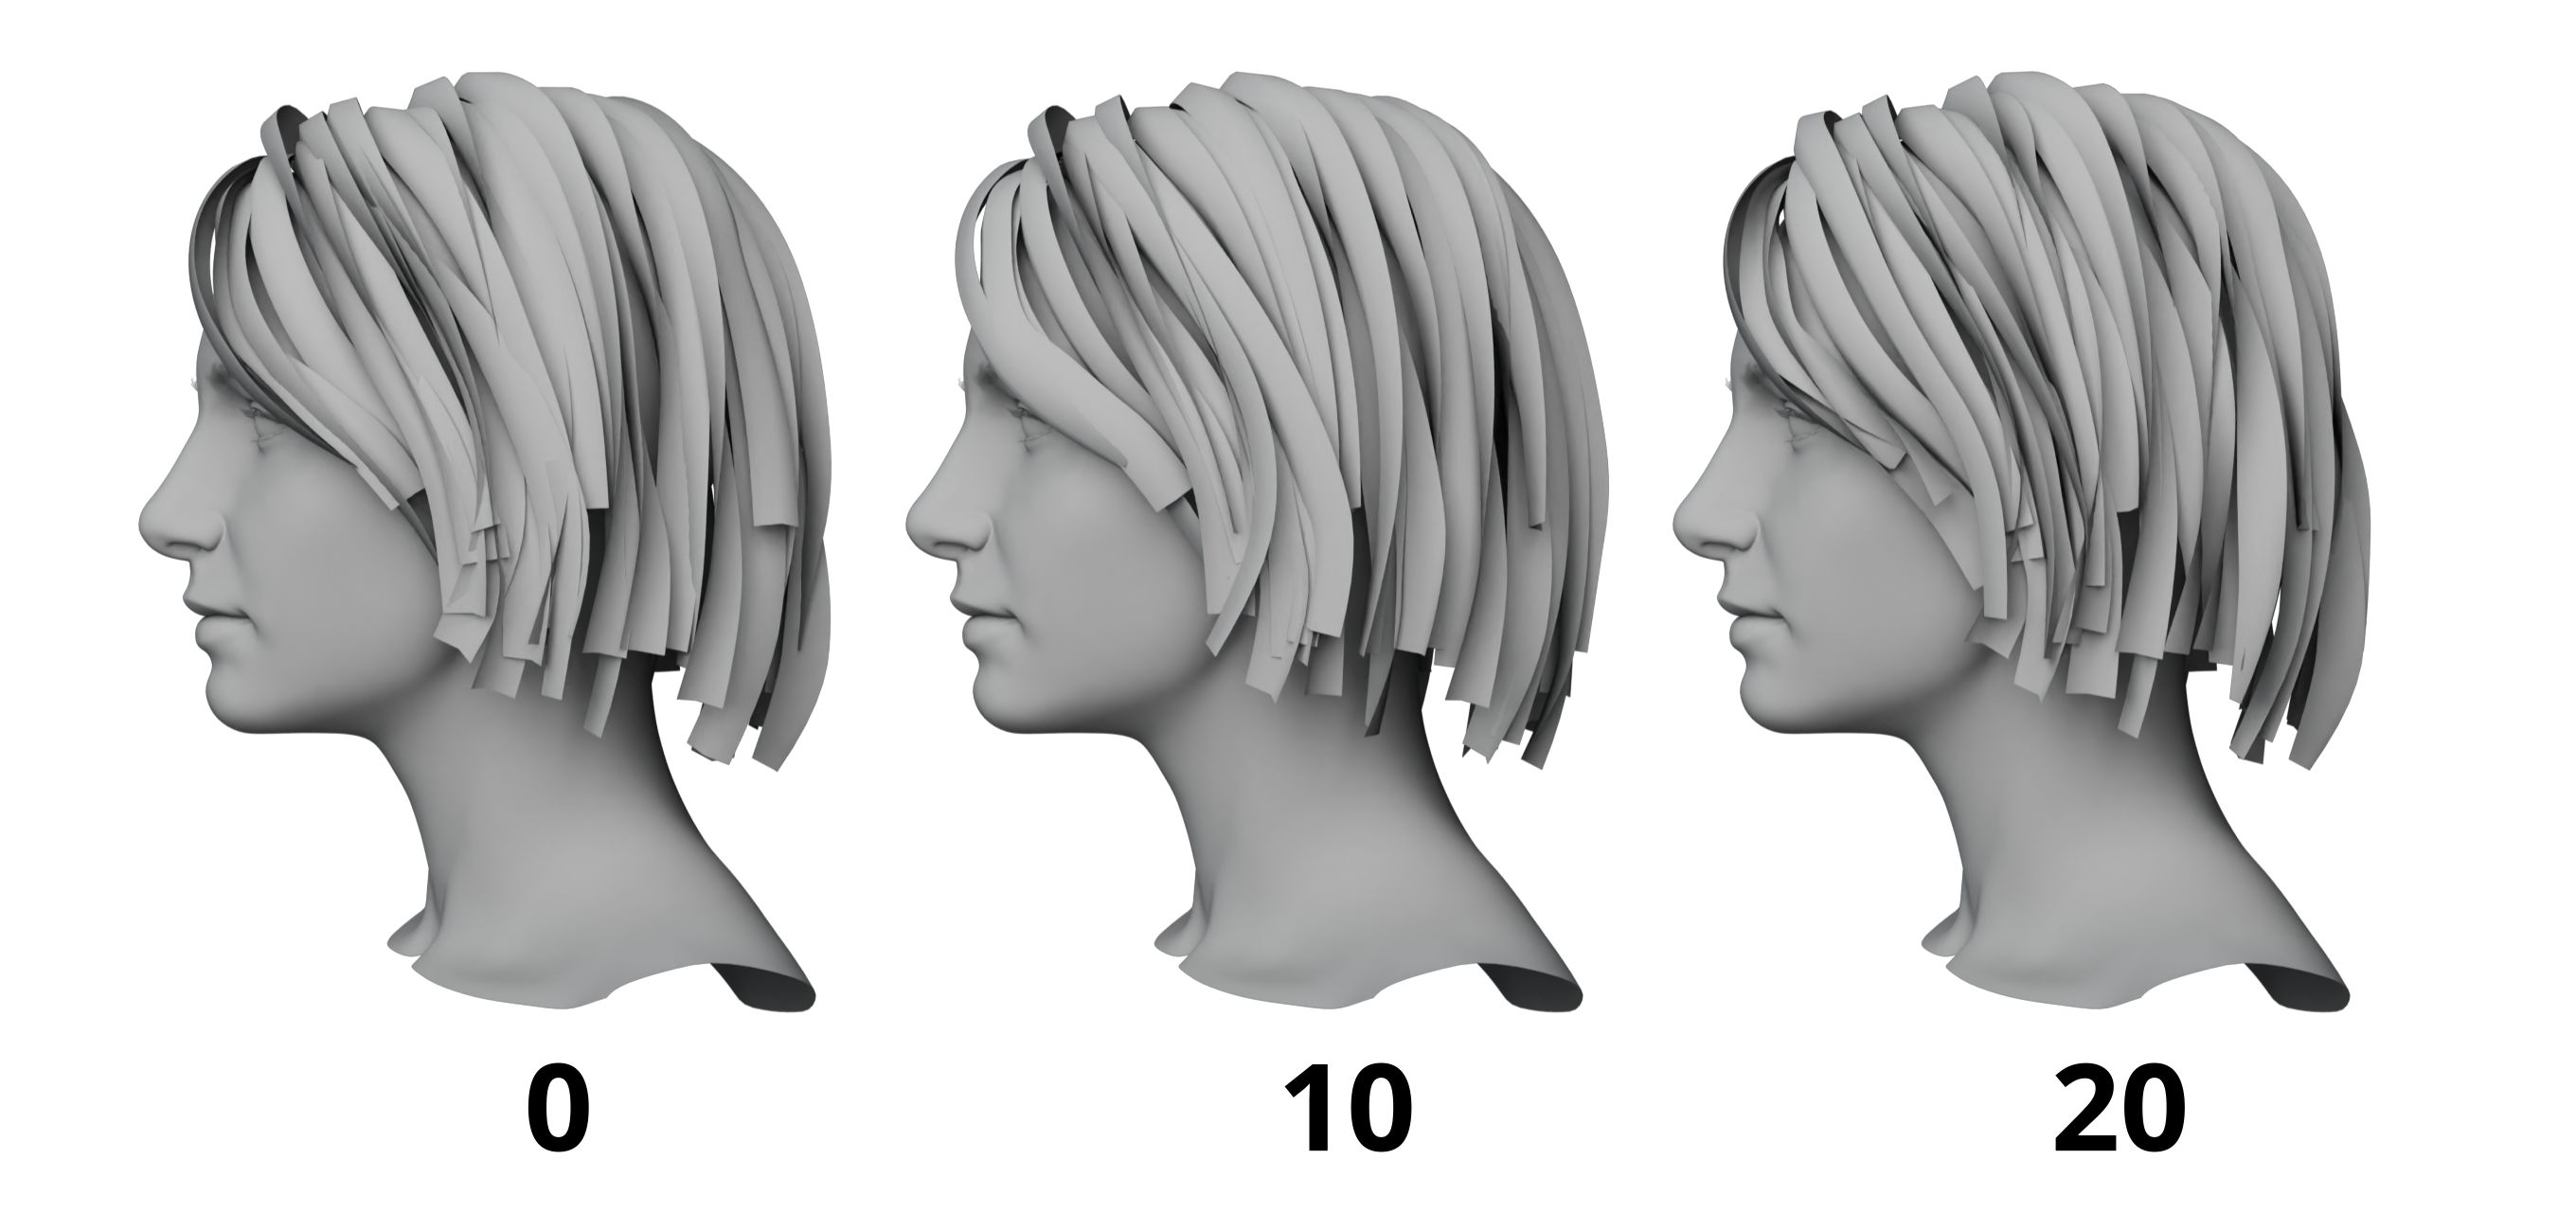
Random Range Start: Minimum twist degree.
Random Range: The range of twist.
TIP
The smallest degree is equal to Random Range Start, while the largest degree is equal to the sum of the Random Range Start and Random Range. If we increase Random Range Start, the degree of all cards will be increased at the same time, and if we decrease Random Range, the largest degree of twist will be decreased accordingly, while the smallest degree is not affected.
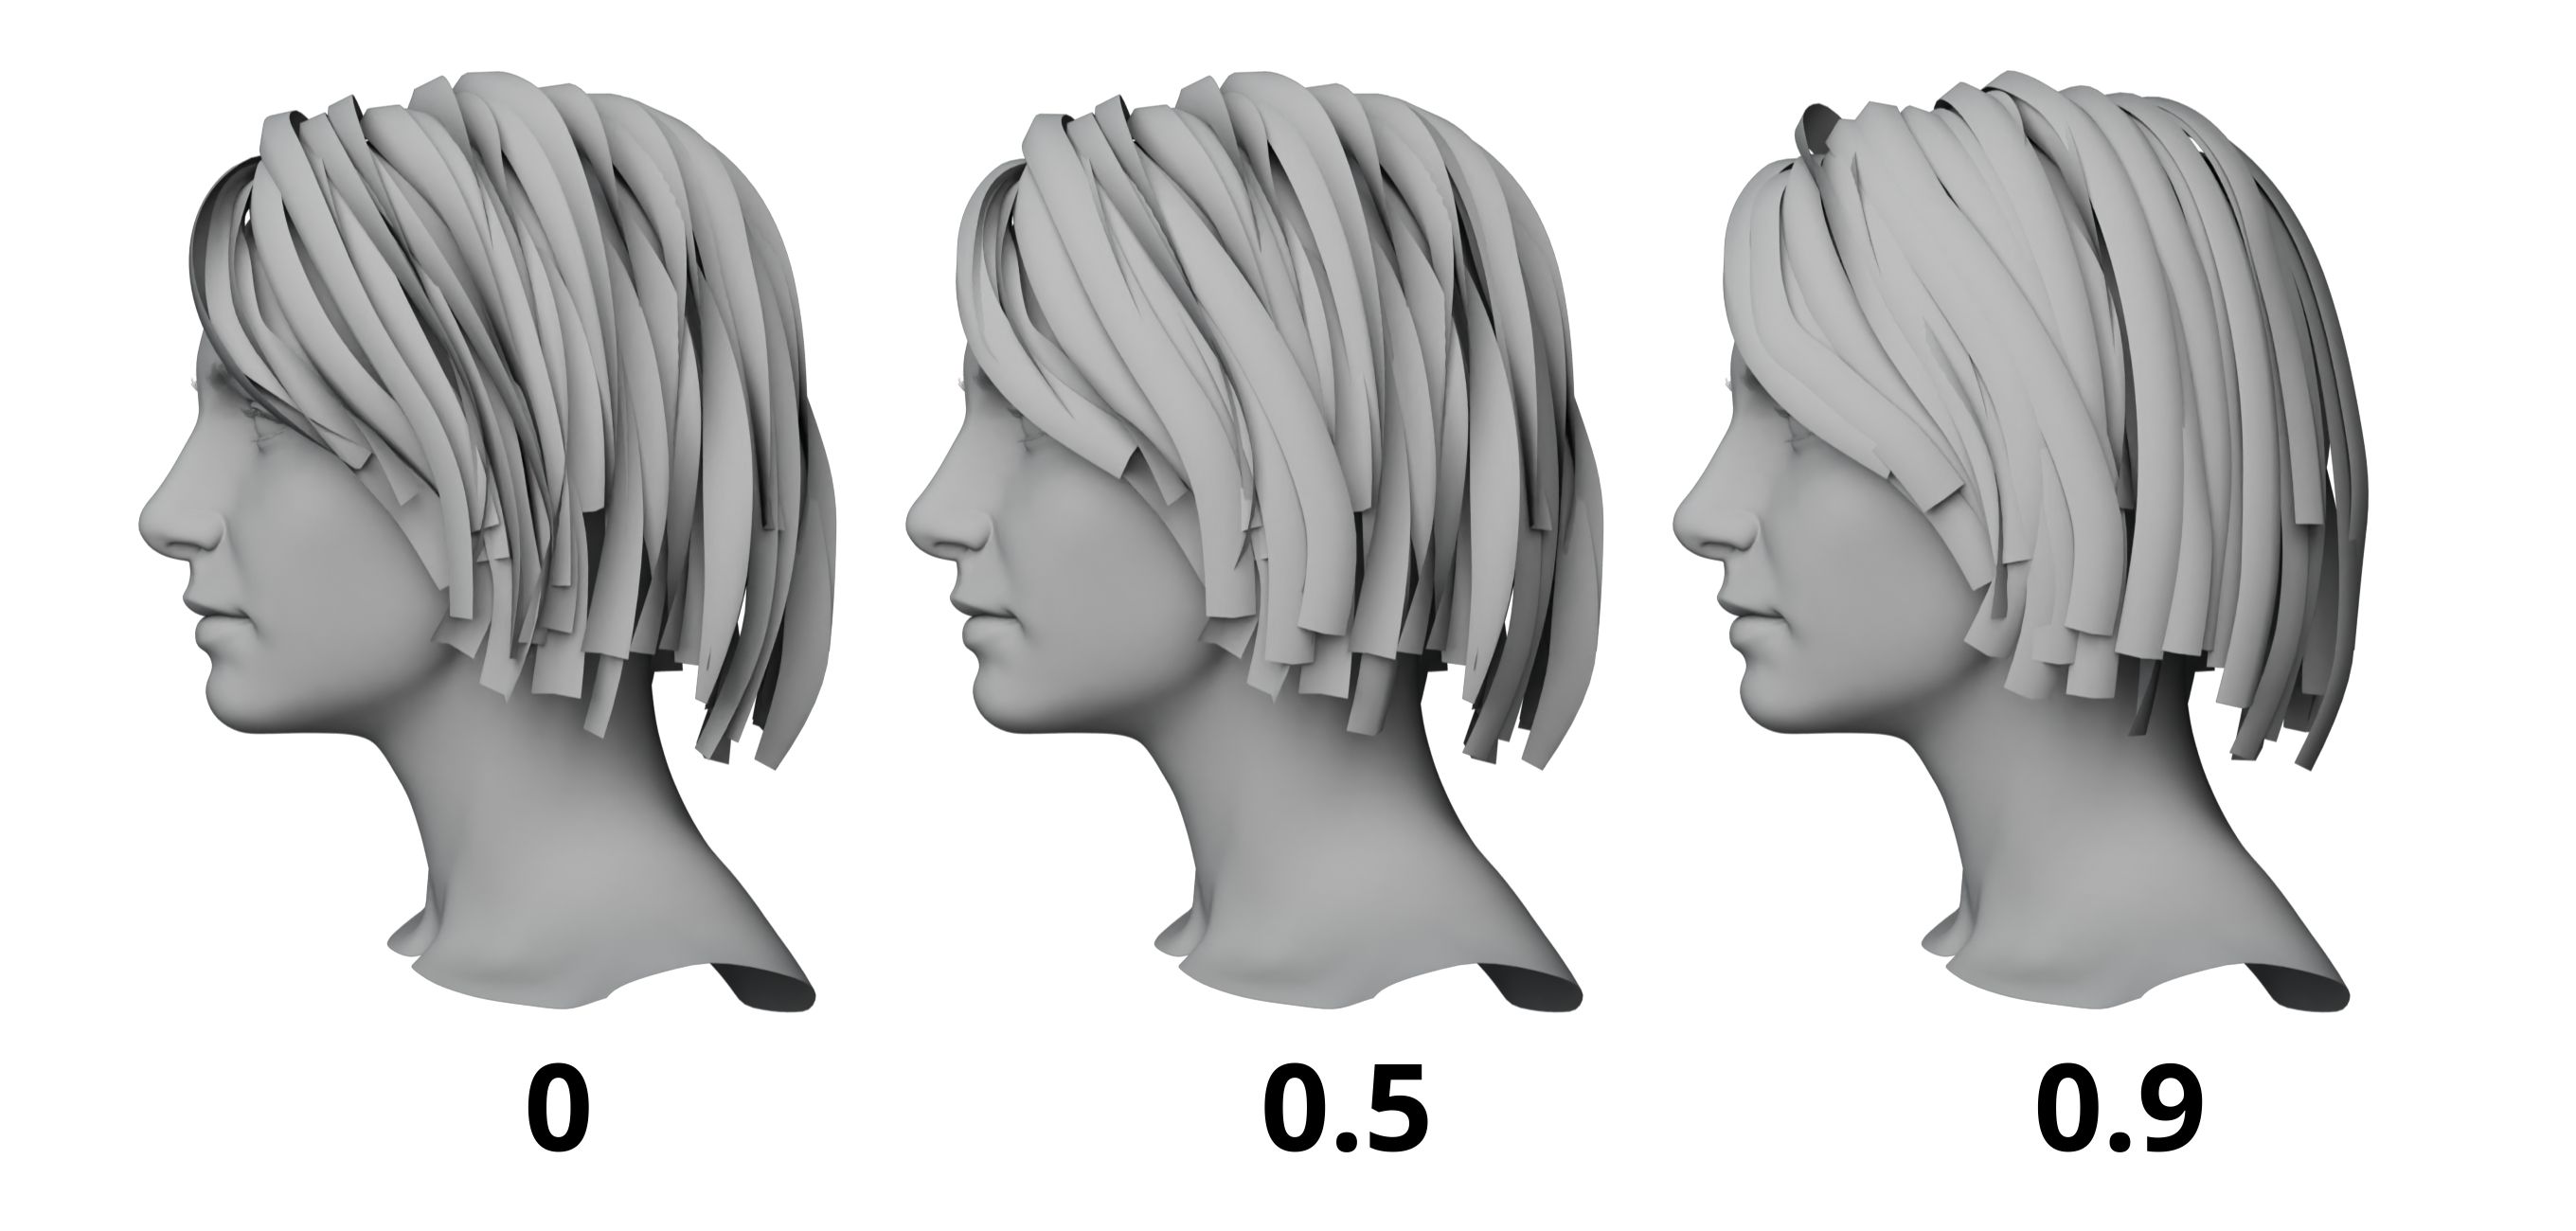
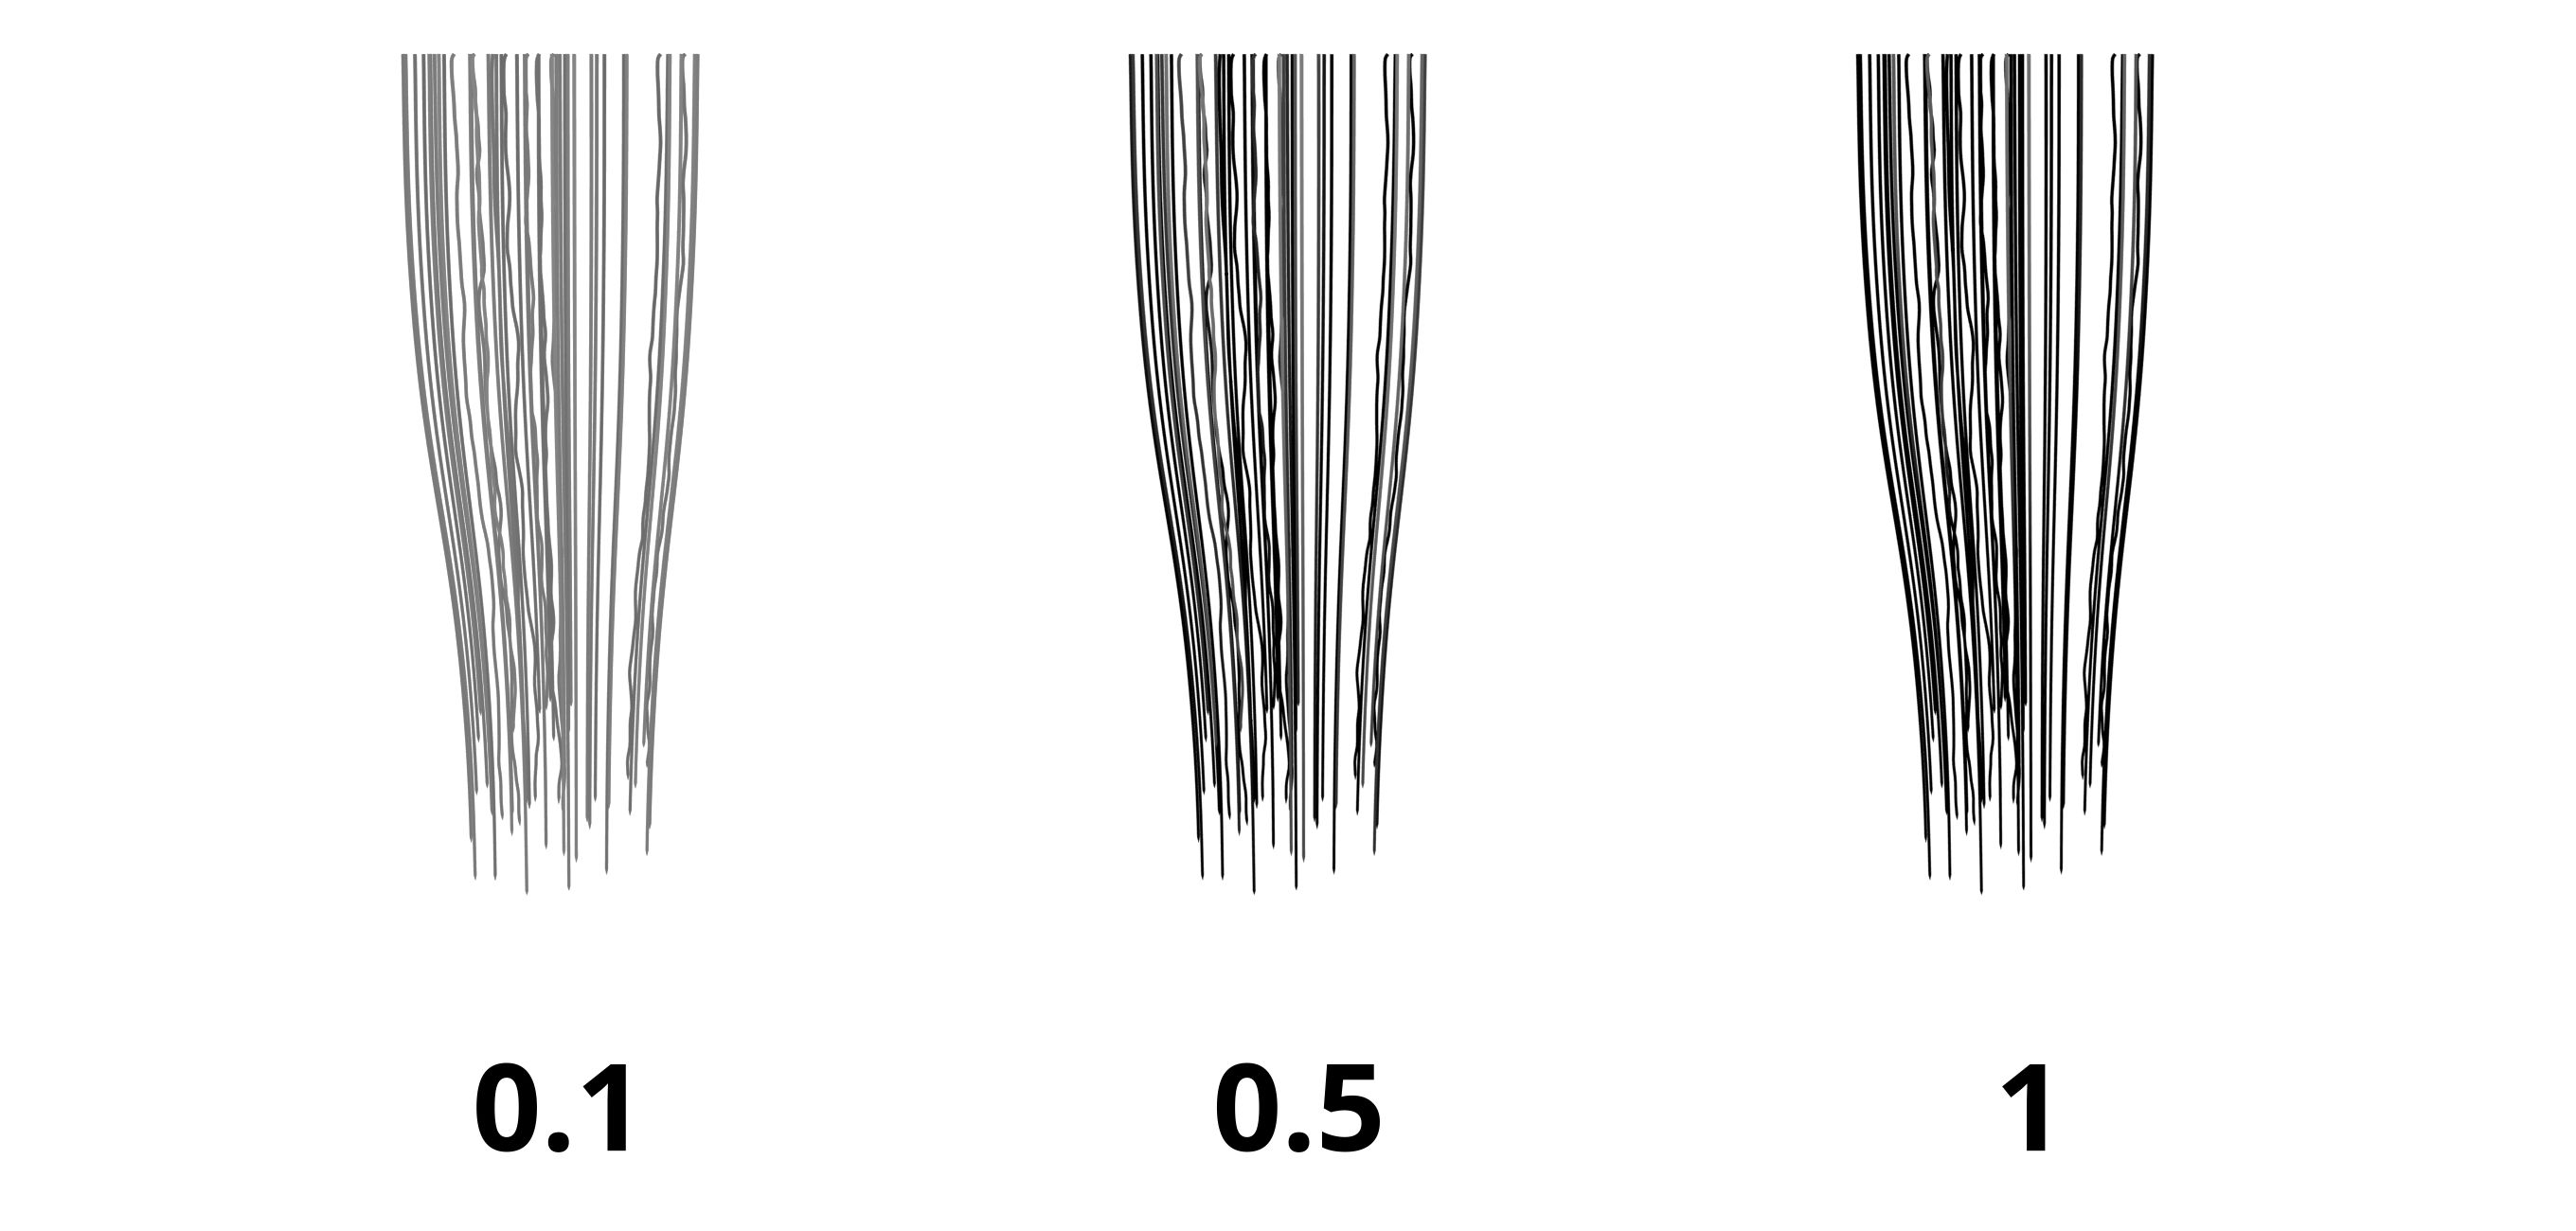
- Twist Shape: Controls the twist strength from the root to the tip of the cards.
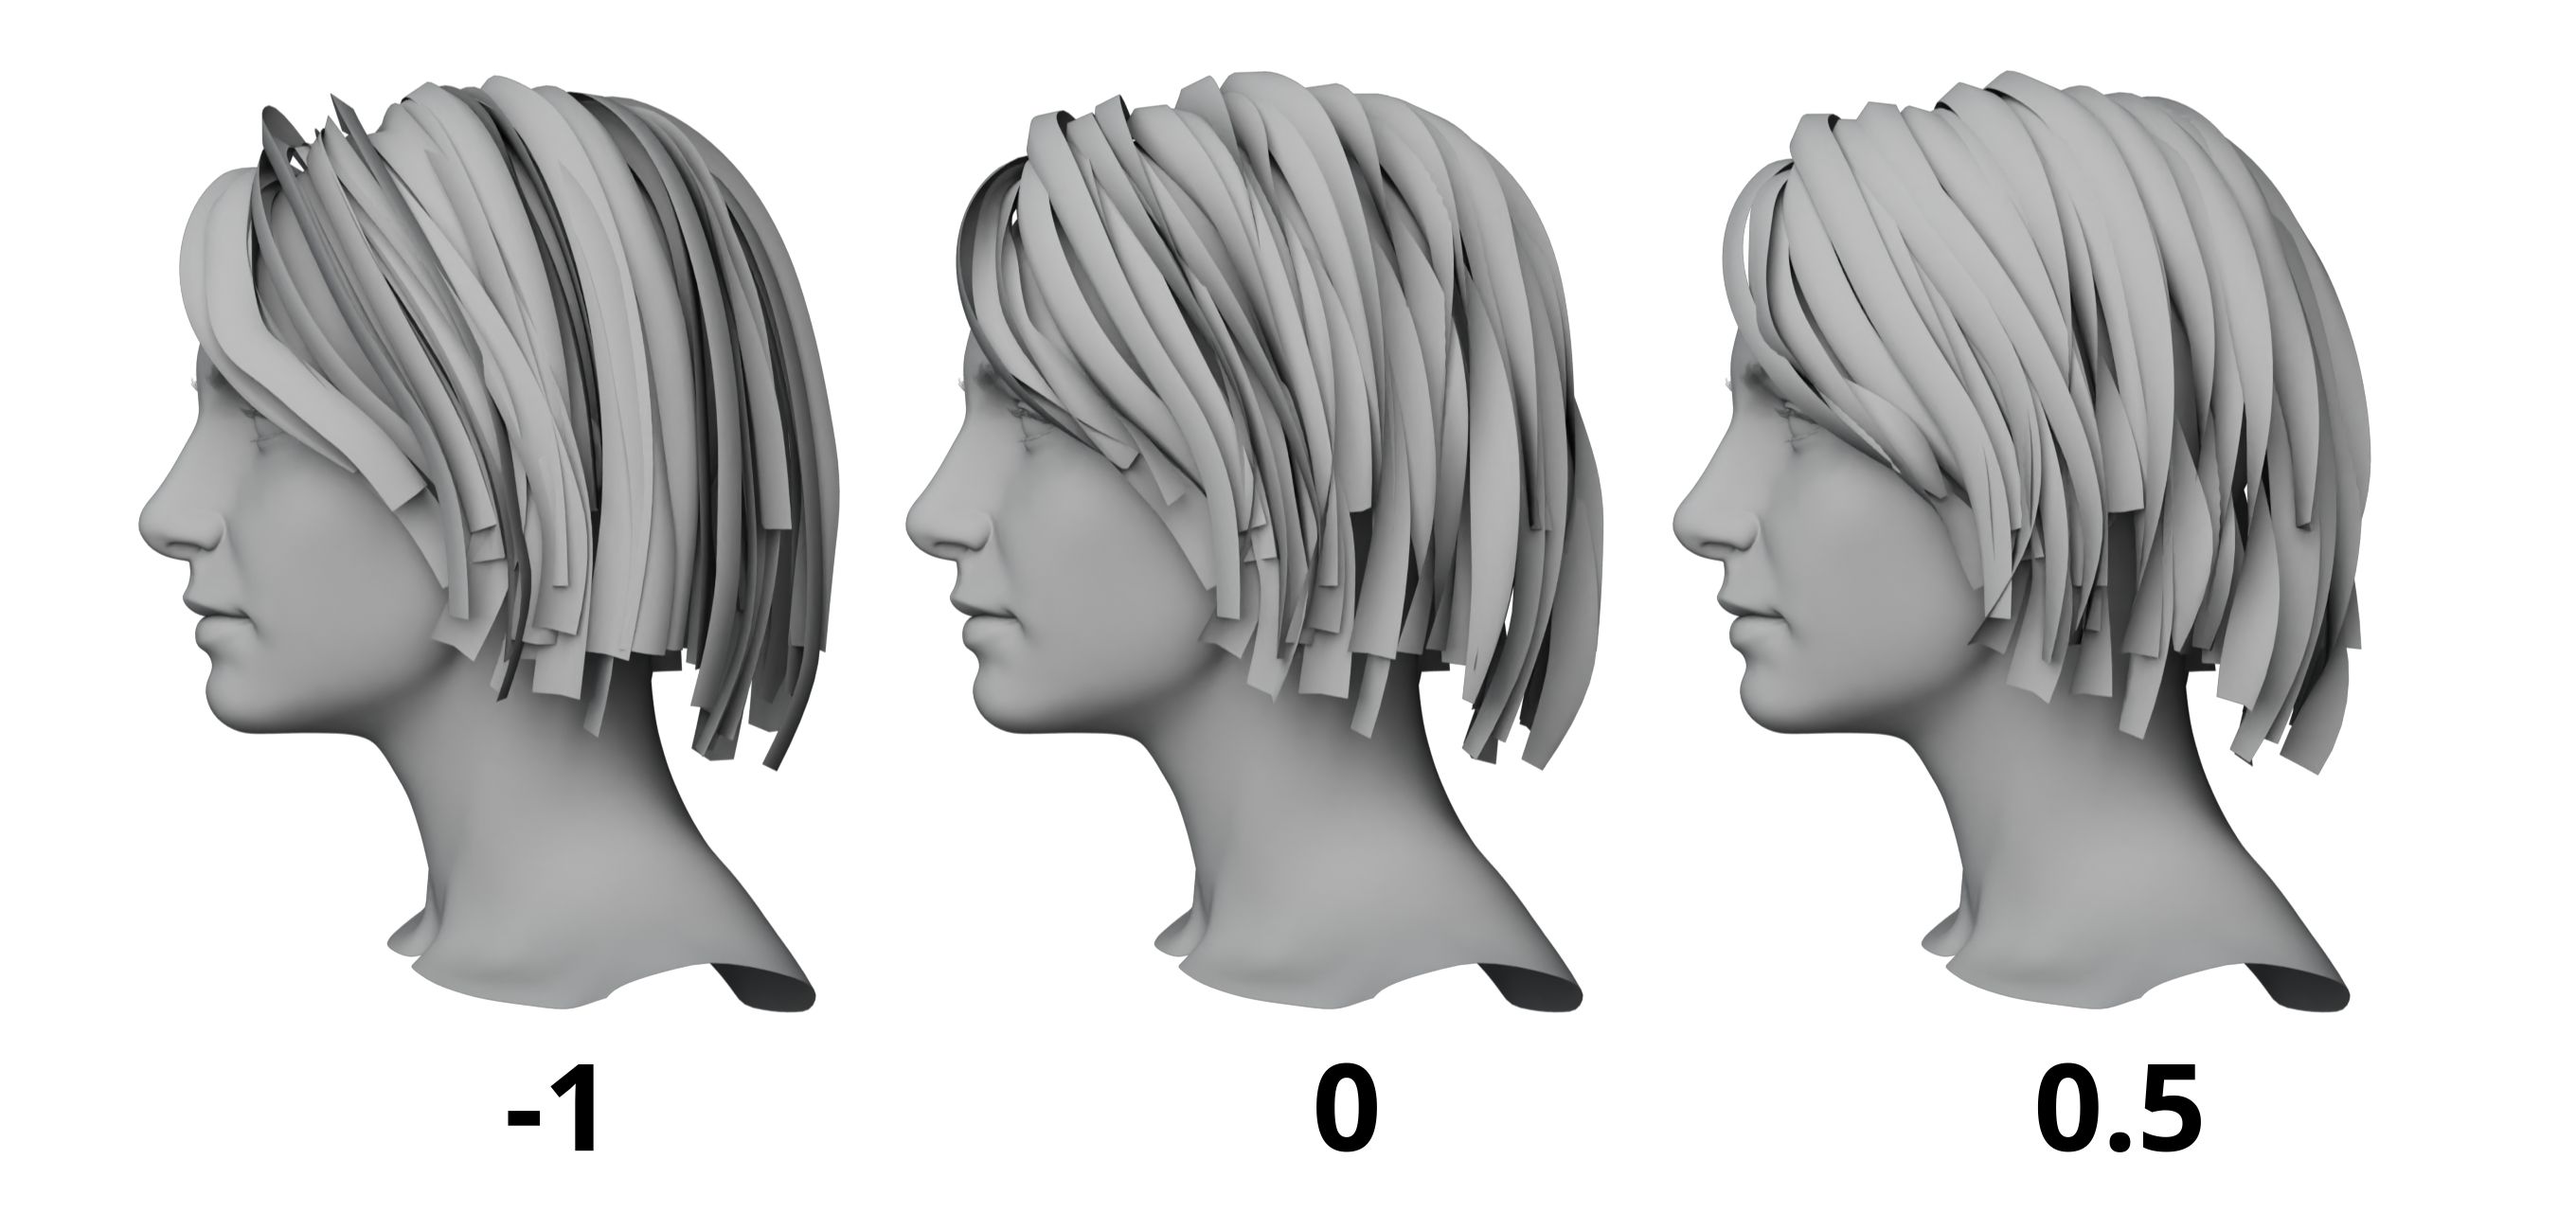
- Threshold: Increase this value to reduce the twisted cards.
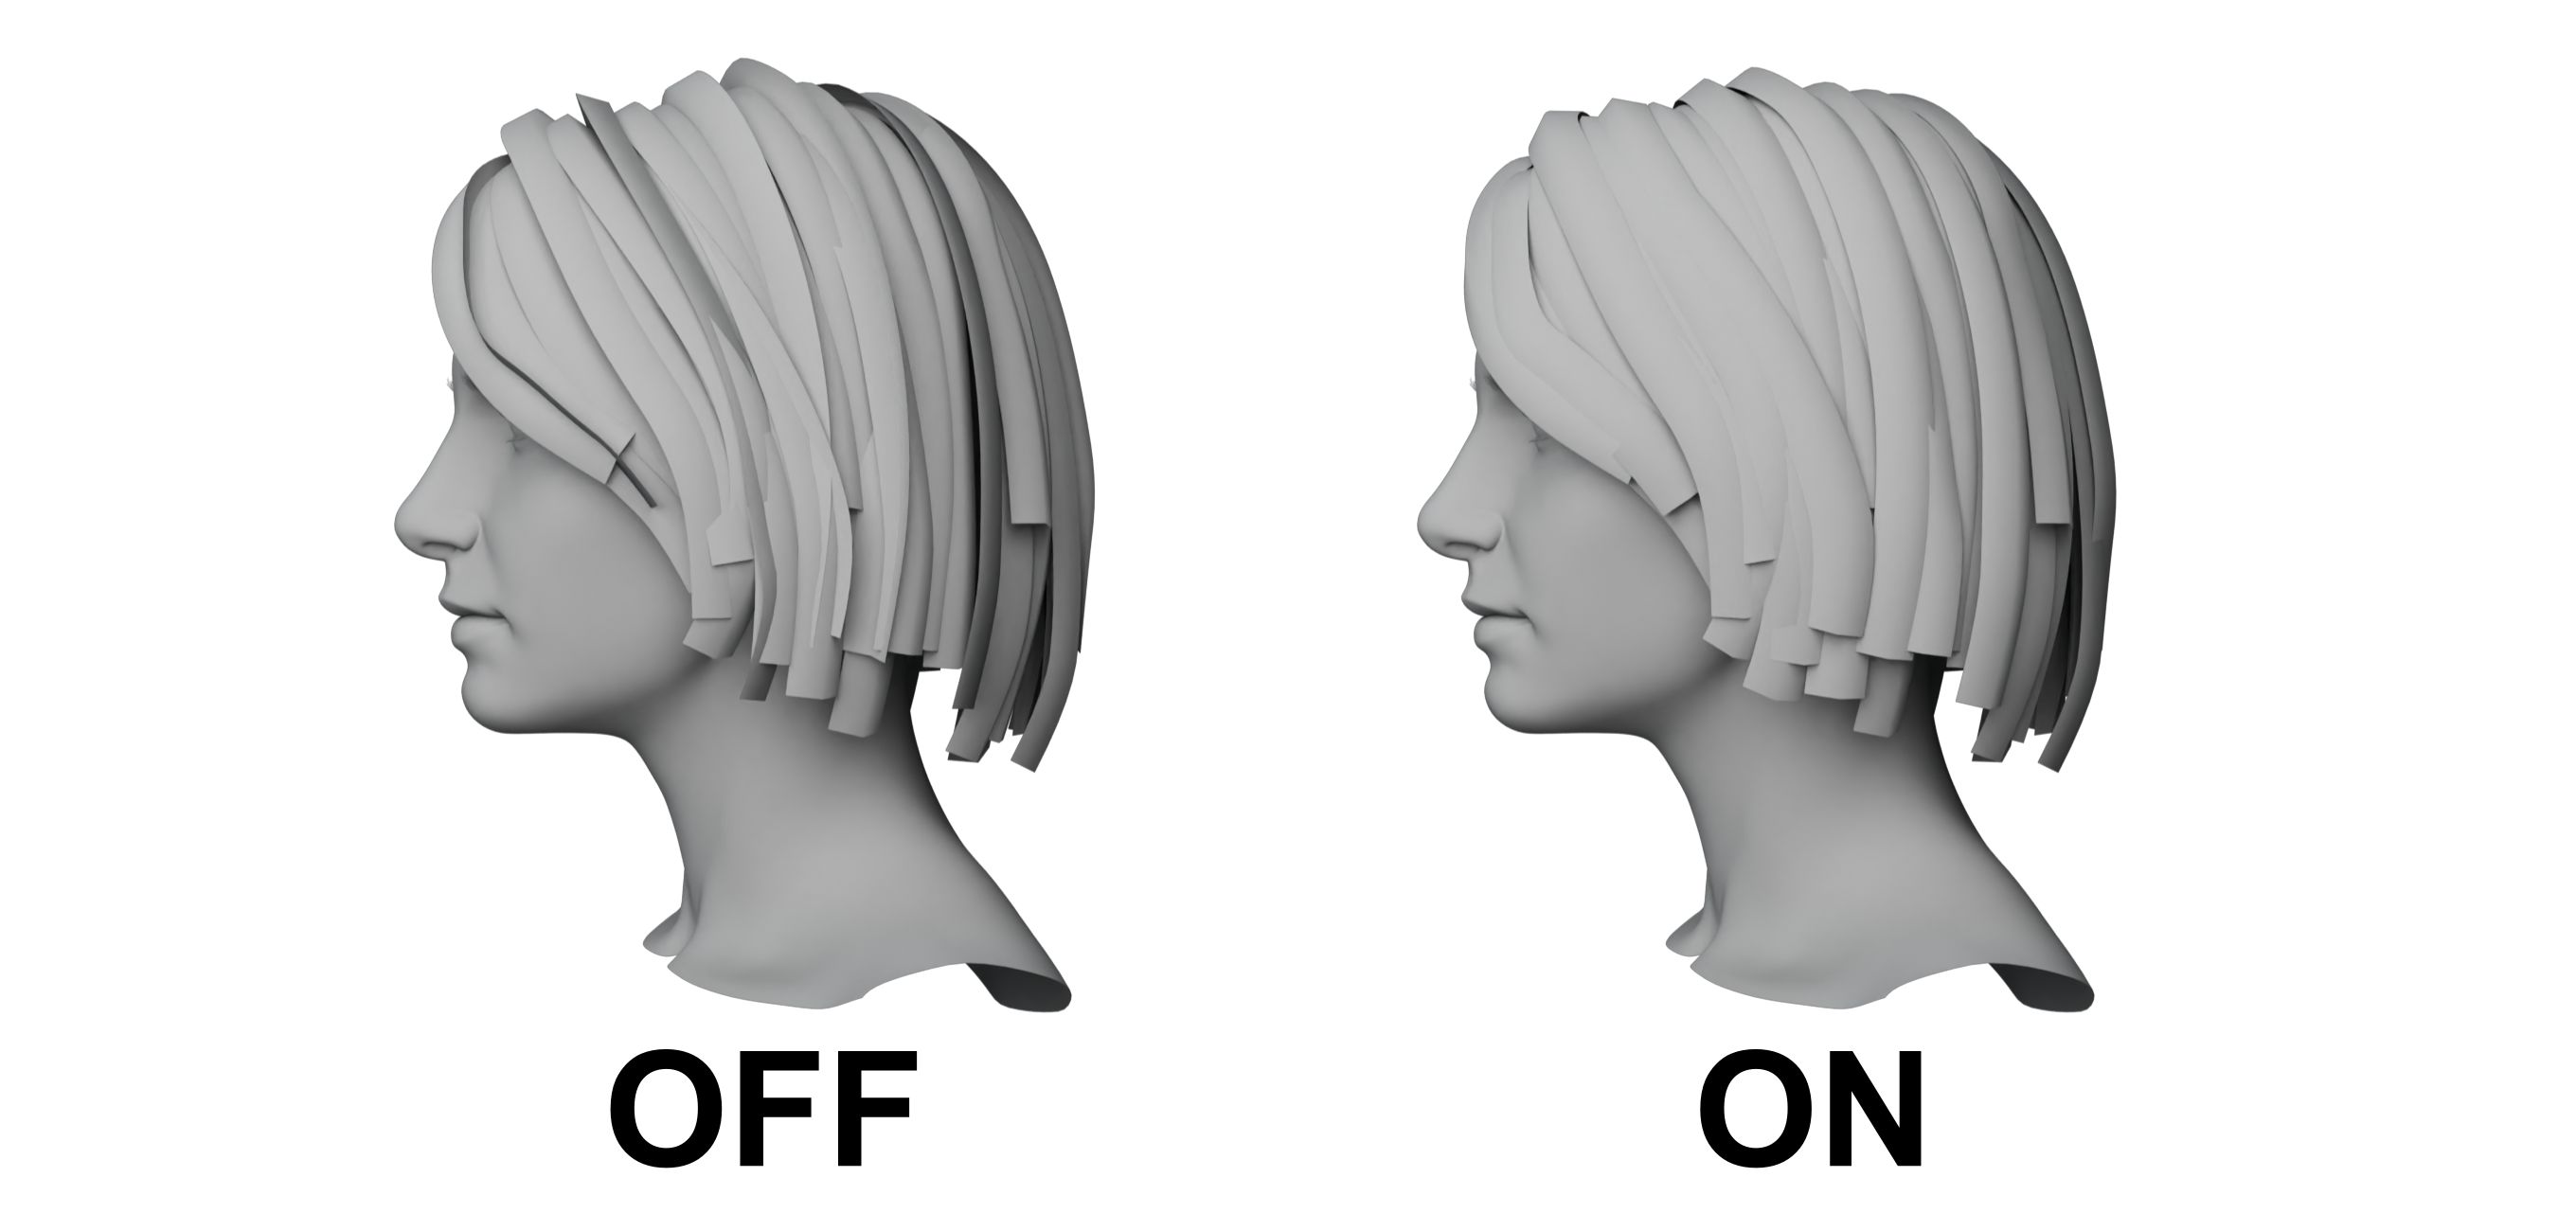
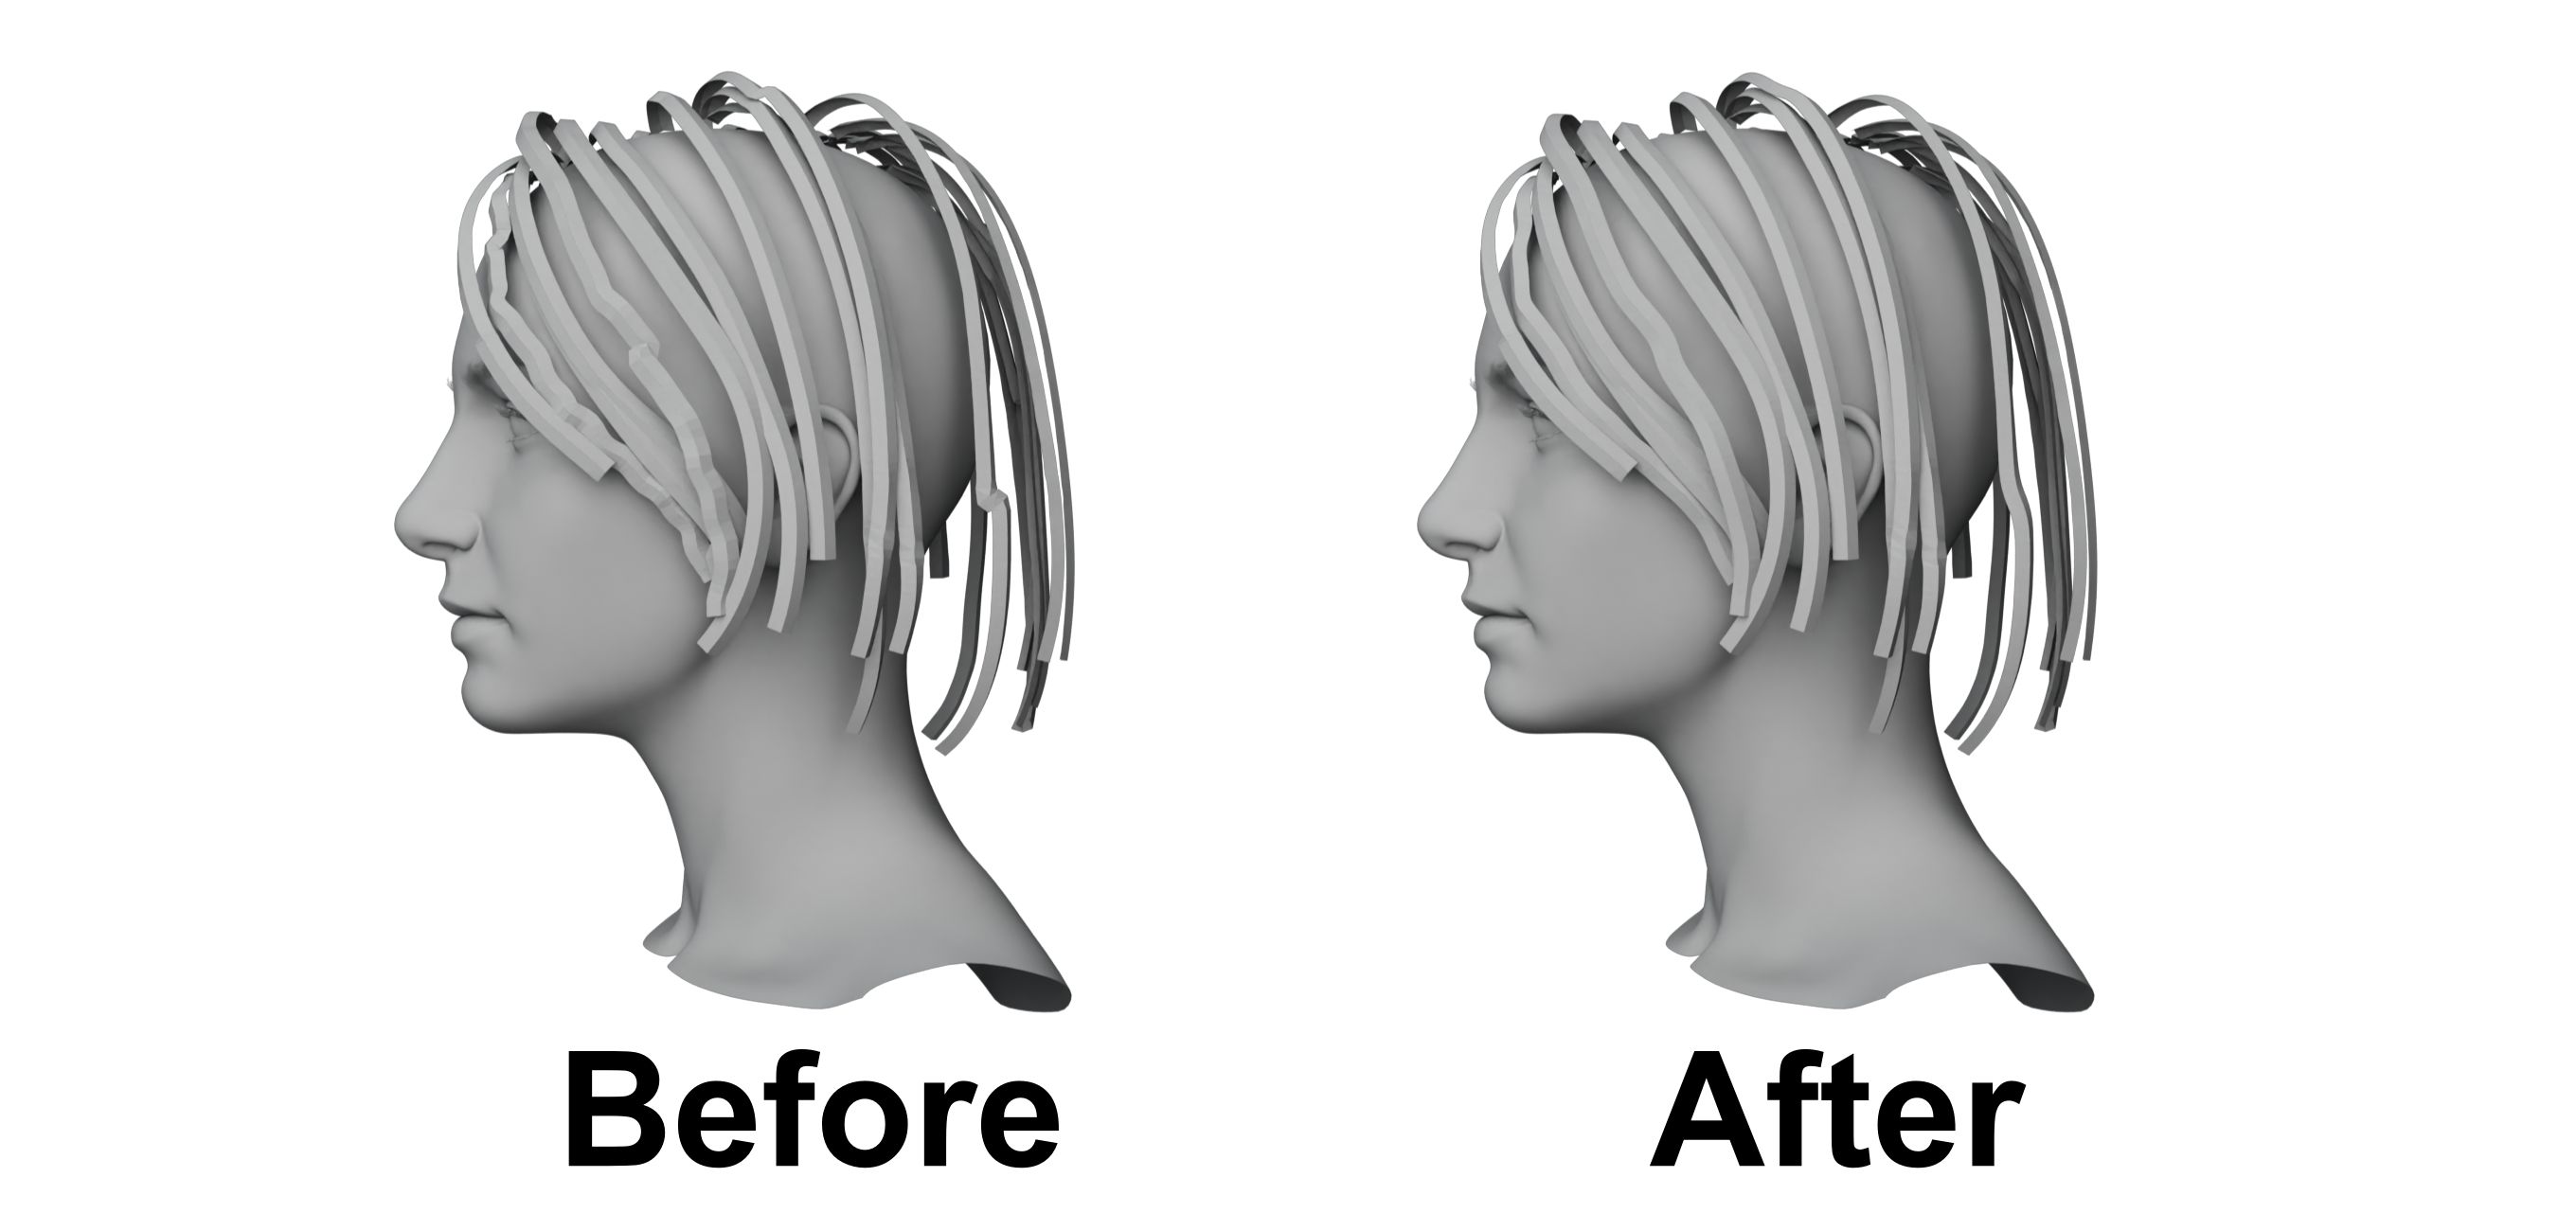
Smooth Curve: Smooths the hair cards for less deformation and interspersions.
Texture

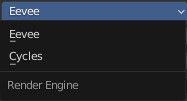
- Render Engine: There are two engines for different workflows.
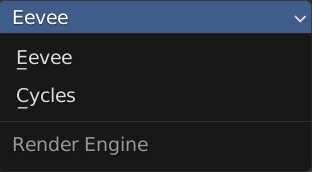
Eevee engine: Renders in real time, fast in refreshing.
Cycles engine: Slower, but more accurate in the results, such as the randomness of hair and the accuracy of color.
Render Samples: Samples of rendering.
Resolution: Size of the textures.
TIP
For Render Samples and Resolution, it's recommended to set lower values at the beginning, and then increase them gradually with the progress of our work.
- Add Texture Region: Add a new texture region. Click to display a new panel.


UV Coordinate: Modifies the UV position of the newly added texture region.
Rearrange Regions: The texture regions are arranged well automatically.
Width: The width of newly added textures.
Height: The height of newly added textures.
Percentage of Child Number: Controls the amount of hair in the texture by changing Render Amount.
Percentage of Hair Thickness: Controls the thickness of hair in the texture by changing Diameter Scale.
Material Assignment Method: The distribution method of newly added textures.
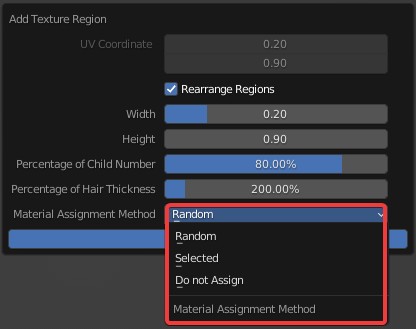
Random: The generated texture is applied randomly and automatically.
Selected: Assign the new texture to the selected cards.
Do not Assign: Generate a new texture without assigning to any cards.
- Texture Region Menu: Three options available.
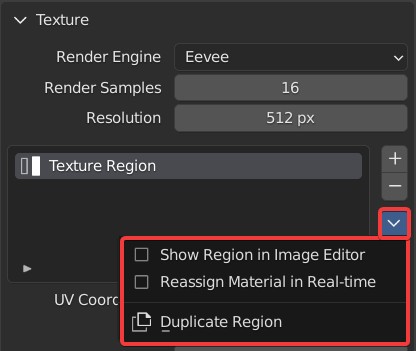
Show Region In Image Editor: Display UV in the texture editor.
Reassign Material In Real-time: Refresh the material distribution in real time. If we uncheck it, all the newly added cards will use the first material when we change Strand Count.
Check it and change the number of cards, the materials will be assigned randomly and automatically.
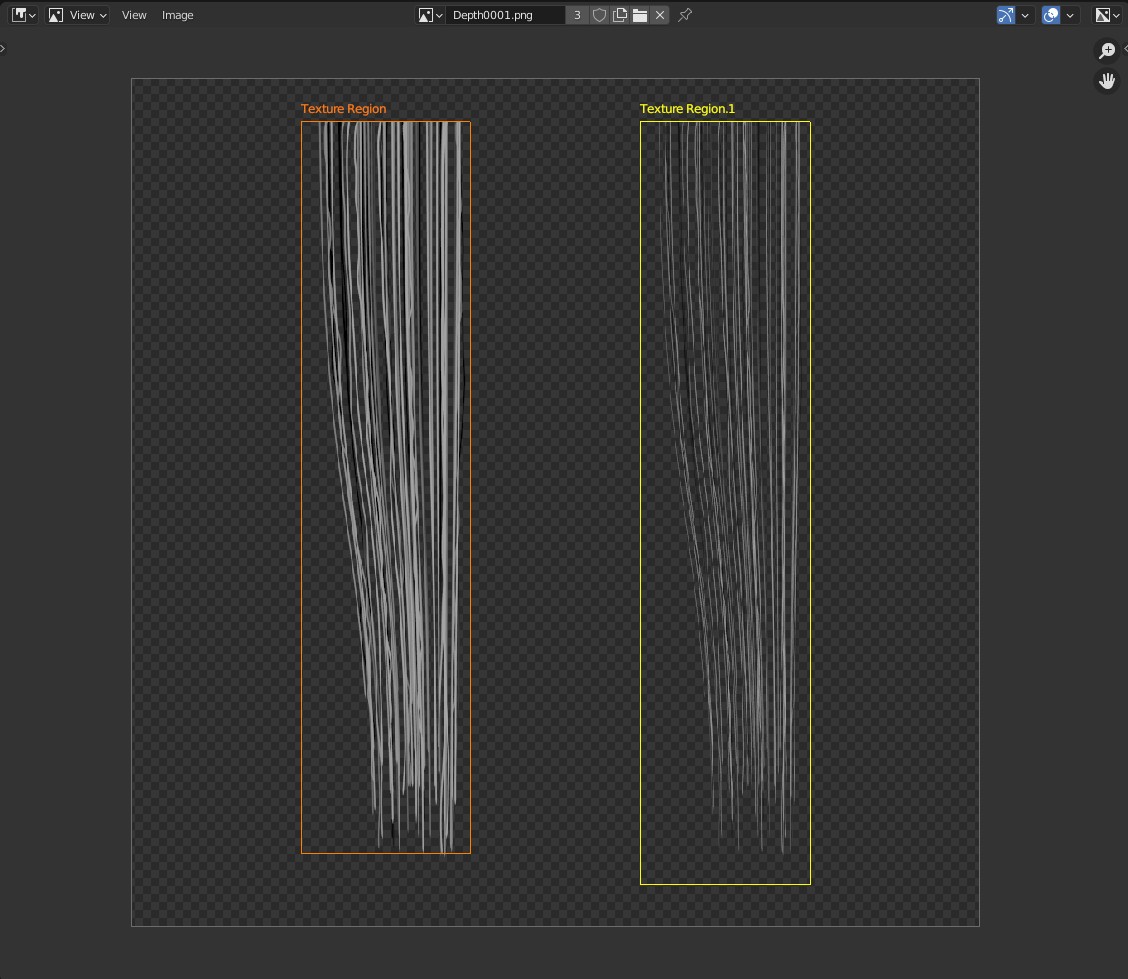
Duplicate Region: Duplicate the selected texture. Click to open a pop-up panel.
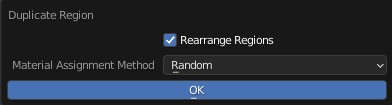
Rearrange Regions: Arrange textures automatically. When this is unchecked, the newly added texture will overlap with the original one, and we need to place it manually.
Material Assignment Method: Same as Material Assignment Method in Add Texture Region.
- View In Image Editor: Click it to display four texture channels. Click on any to check it in Image Editor.
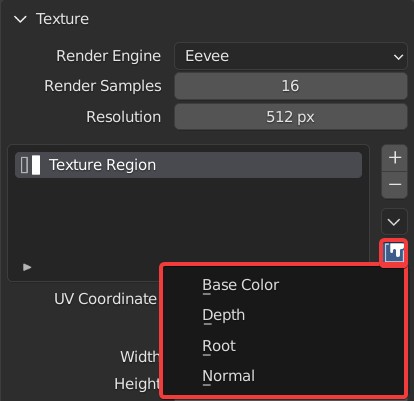
Base Color
Depth
Root
Normal

The parameters below the texture panel control the position and size of the texture and the UV. The texture here refers to the texture in Image Editor, and the UV refers to the border of the texture.
UV Coordinate: Controls the position of the texture and UV on X axis and Y axis.
Width: Controls the size of the texture and UV.
Height: Controls the size of UV, the texture is not affected.
TIP
The default UV arrangement is fine in most cases. But if we want to optimize the texture to save the resources, we can do it manually.
- Depth Ratio: Controls the depth of the texture, a larger value makes the depth deeper, thus making it more three-dimensional.
- Left & Right Padding: Controls the padding of the texture to make sure texture is within the UV.
- Top Padding: Moves the texture vertically for a better integration between the hair and the models.
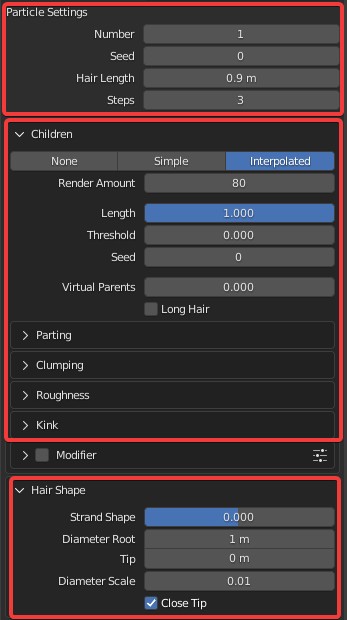
- Particle Settings
The parameters in the tab Particle Settings control the number, shape, thickness of the texture, which works the same as those in Blender, please refer to the Blender Manual.
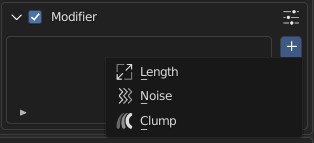
The modifier is a part of 3D Hair Brush, please watch the modifier tutorial to learn more.
Material
Here are the parameters that control the color and attributes of hair material.
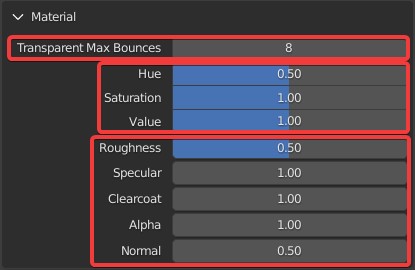
Transparent Max Bounces: Max transparent bounces. Modify this according to the number of cards, increase this value to get a correct result when there are a large number of cards. Only available with Cycles engine.
Hue, Saturation and Value control the color of all the textures in the current particle system. Noted that only metarial is modified, textures are not.
The attributes of materials work the same as principle BSDF, such as Roughness, Specular, Clearcoat, Alpha and Normal.
Apply
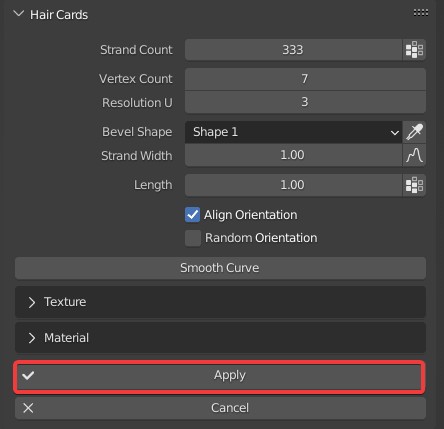
Click to show the output window. We can output textures, or convert curves to meshes.
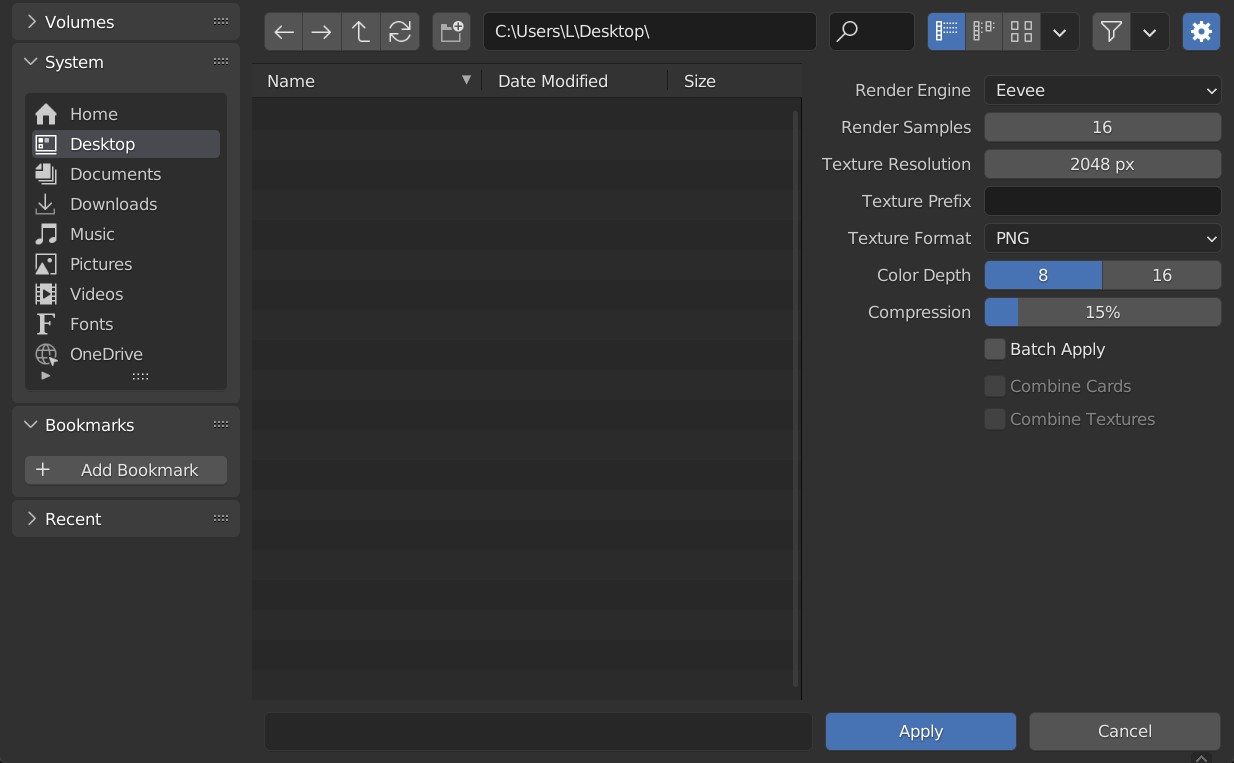
- Render Engine: The same Render Engine should be selected as the one in the previous test, otherwise the results may be different.
Render Samples: Samples of each pixel when rendering. A high Render Samples is recommended for high-quality and high-resolution texture.
Texture Resolution: Controls the size of the output texture. A high Resolution is recommended for high-quality and high-resolution texture.
Texture Prefix: Prefix of the texture name. If the prefix is empty, the name of the object will be taken as the prefix, plus the corresponding texture channel, such as Base Color and Depth.
With a prefix.
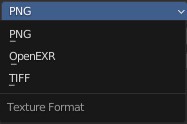
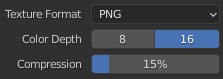
- Texture Format: There are three texture formats available, followed by related parameters.
- Batch Apply: All hair cards on the selected object will be outputted. Each object comes with a group of maps.
- Combine Cards: All hair cards on the selected object will be merged into one.
- Combine Texture: All the textures of hair cards on the selected object will be combined into one. Its resolution is the same as the Texture Resolution above. The width is automatically calculated according to the number of textures.
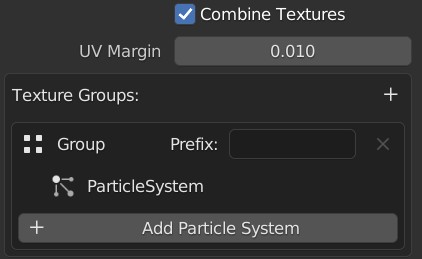
UV Margin: Controls the gap between texture regions.
Texture Groups: A texture group is outputted as a group of maps. We can add multiple hair card objects to one texture group.
 | Icon5 | Add a Texture Group. |
|---|
Prefix: The Prefix here is different from the one above. If Combine Textures is disabled, the prefix above will take effect, otherwise, this prefix works normally.
Add Particle System: Add hair cards to the texture group.
Cancel
Cancel the conversion of hair cards.